
Last updated November 14, 2026
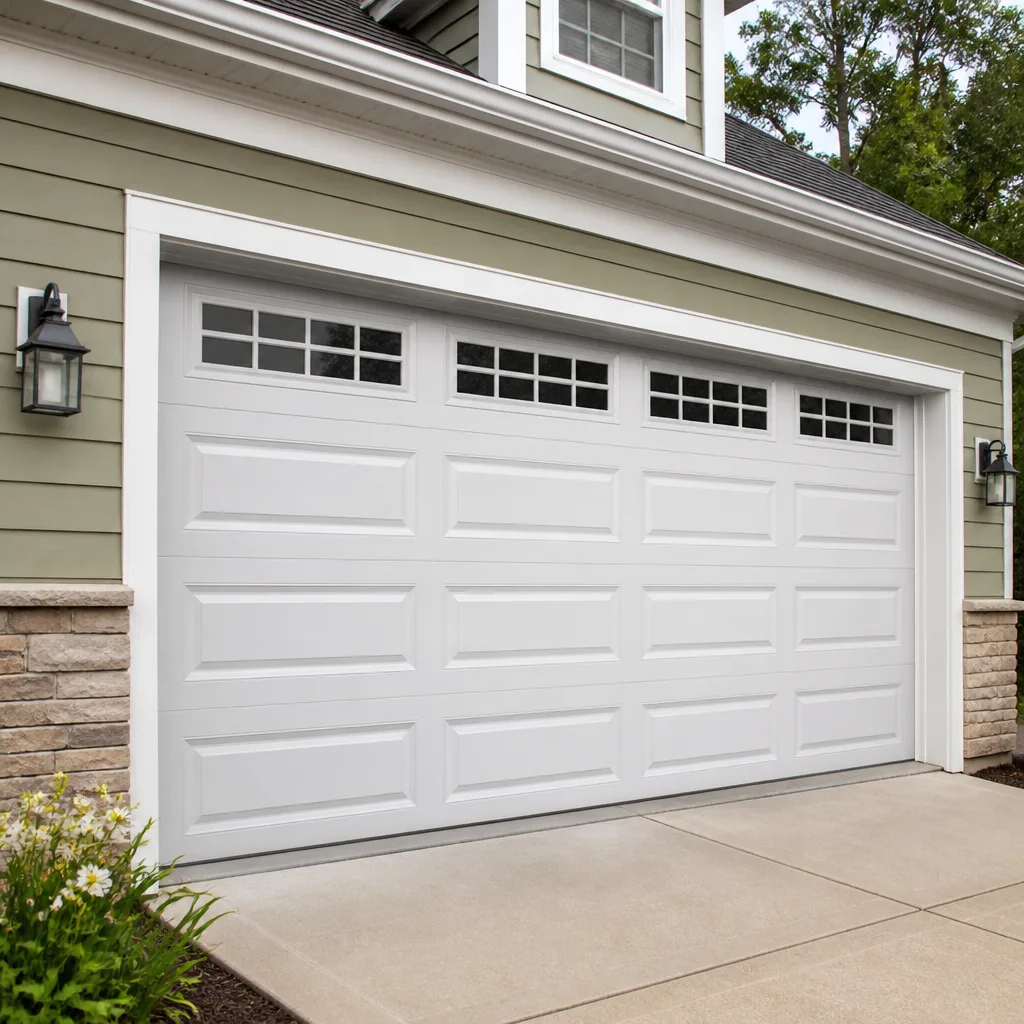 Raised-panel steel
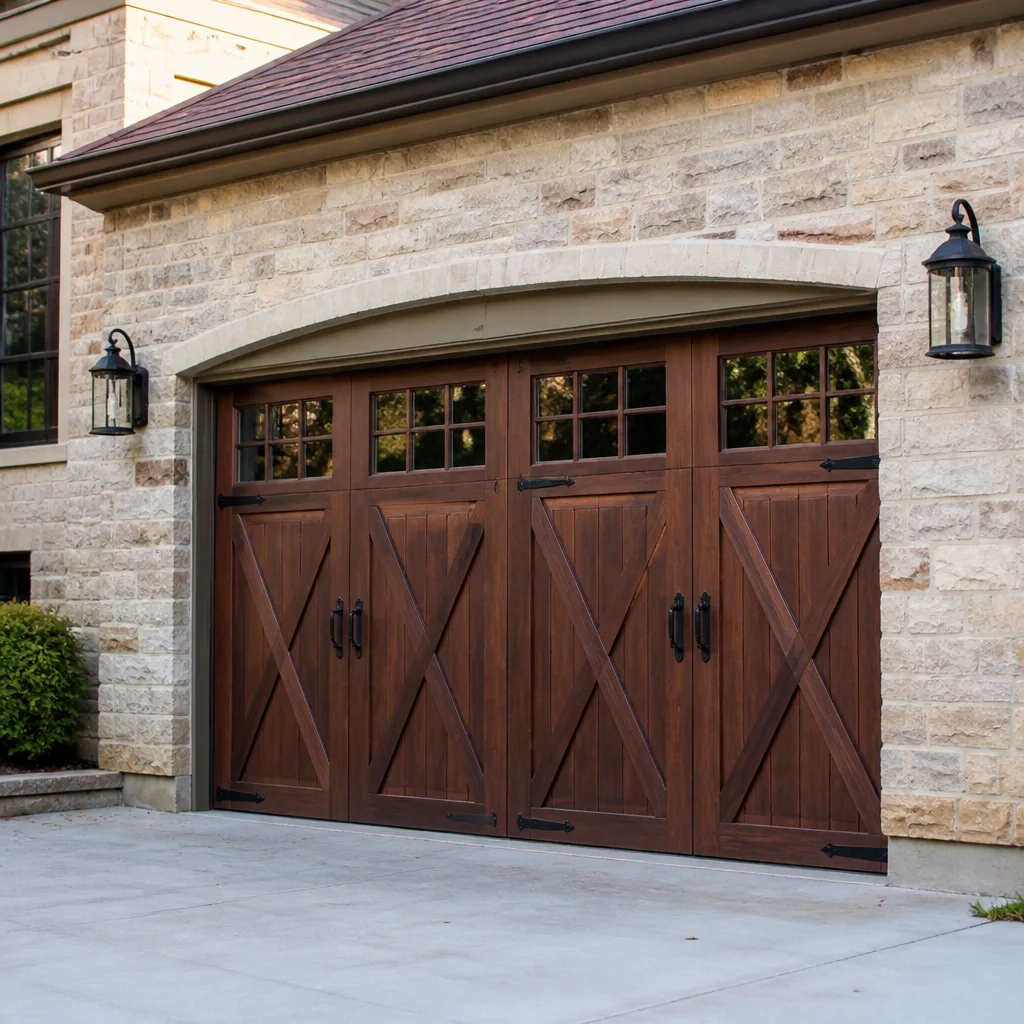 Carriage house
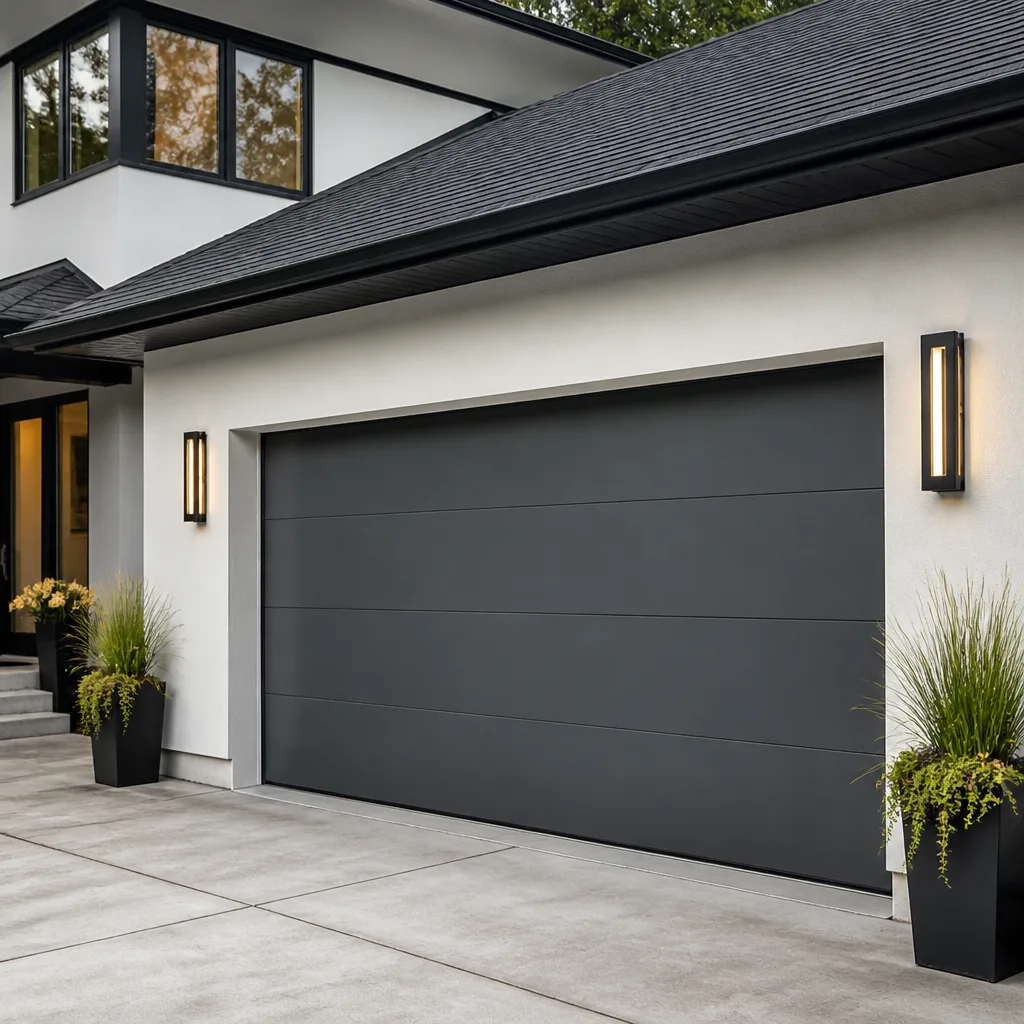 Modern flush
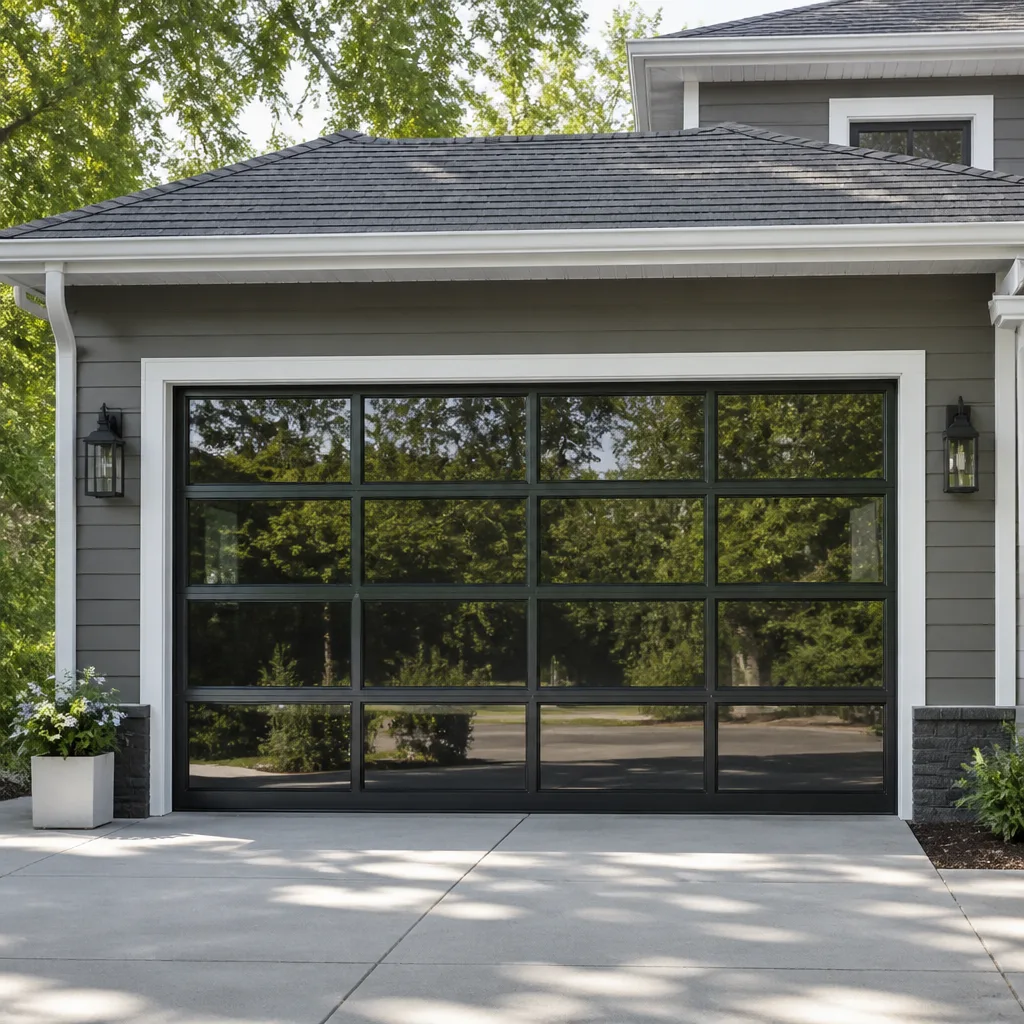 Full-view glass
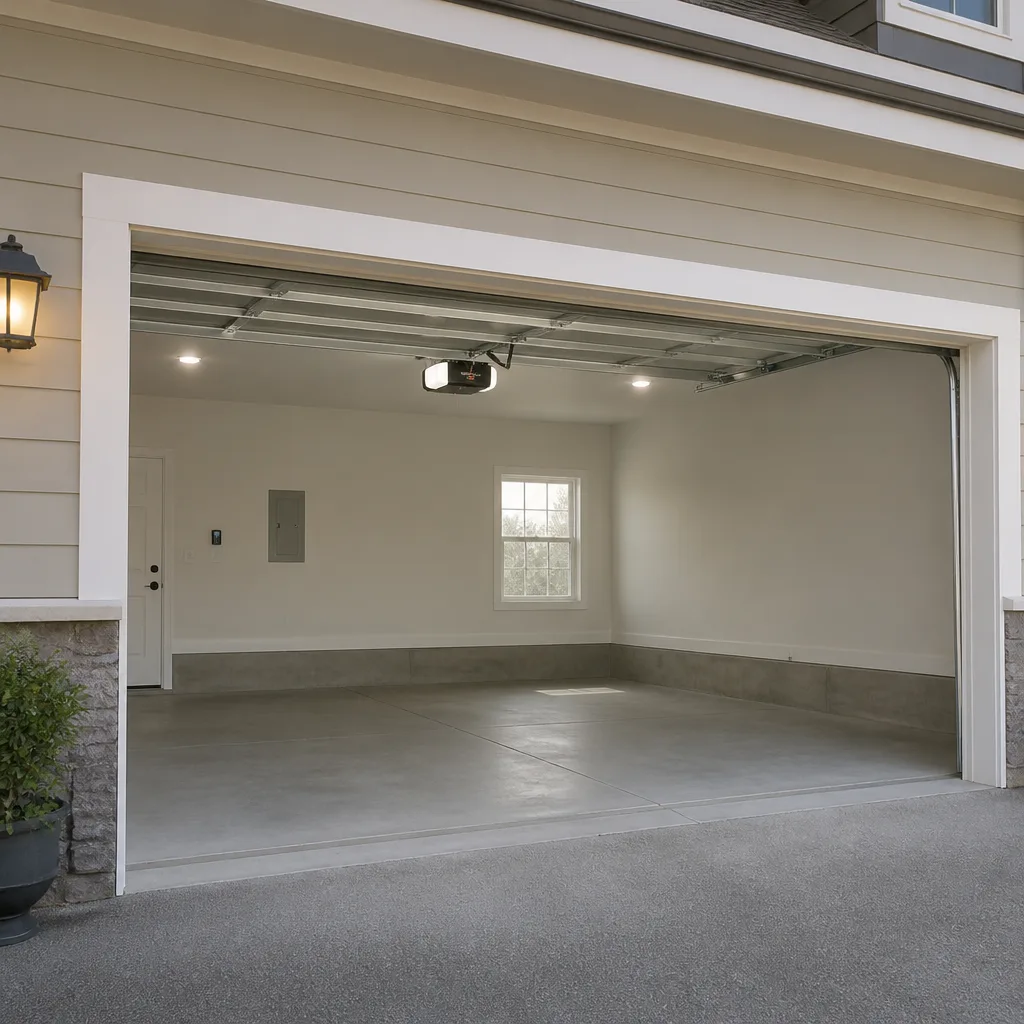 LiftMaster openers
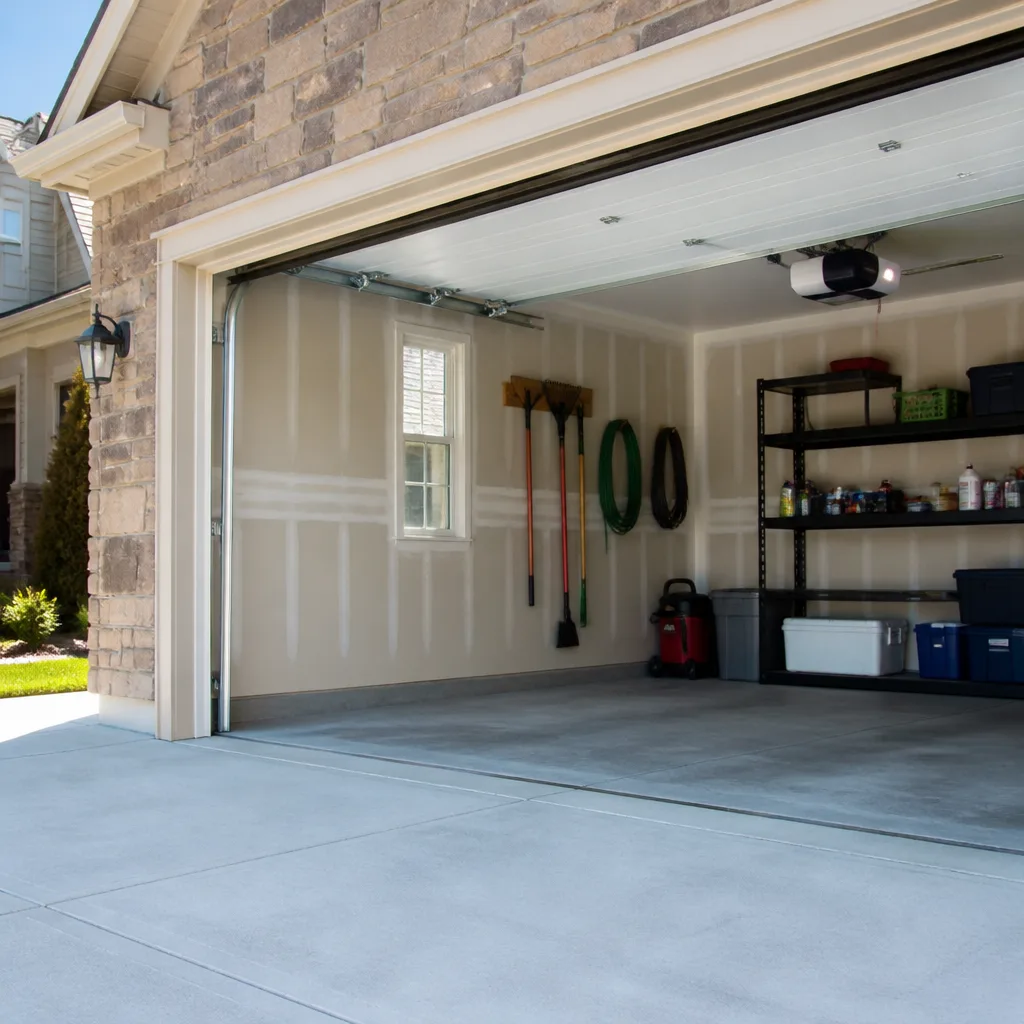 Chamberlain openers
Full 25-point door and opener safety check with every visit - springs, cables, rollers, tracks, and your LiftMaster or Chamberlain opener included
You get a price before we start. It does not change when the truck arrives.
Get your free estimateGarage Door Repair Troubleshooting in Richmond: Common Problems and How to Fix Them
A door that reverses before it closes gets blamed on the safety sensors most of the time. In our experience across Richmond, that guess is wrong often enough to send people buying parts they didn’t need. The sensors are an easy suspect because they’re visible and cheap to replace, but the actual cause is frequently a bottom seal that has warped and is dragging on the threshold, which trips the opener’s force control and makes the door act like it hit something. Chasing the symptom instead of the component wastes an afternoon. This guide teaches you to read the door the way a technician does: isolate the subsystem first, then test it. You’ll learn the five-minute checks for springs, tracks, opener, sensors and weather seal, which failures are safe to look into yourself, and which ones need someone on-site.
Quick Answer
Most garage door problems in Richmond trace back to one of five components: the torsion springs, the track and rollers, the opener and its force control, the safety sensors, or the weather seal and bottom seal. Start by isolating which one is misbehaving before you test anything else, because the same symptom (a door that won’t close, a door that reverses, a door that runs but doesn’t lift) can come from any of them. Springs and cable drums are never a DIY job; tracks, sensors, seals and opener diagnostics are things you can check safely from the ground.
Styles & brands we work with
- Raised-panel steel
- Carriage house
- Modern flush
- Full-view glass
- LiftMaster openers
- Chamberlain openers
Table of Contents
- The Subsystem-First Diagnostic Framework
- Richmond Failure Patterns You’ll Actually See
- Springs and Cables: What to Check, What to Leave Alone
- Tracks, Rollers and the Alignment Problems Behind Most Noisy Doors
- Diagnosing the Opener Without Guessing
- Safety Sensors and the Force-Control Test Most Homeowners Skip
- Brand-Specific Quirks: Why the Same Blink Means Different Things
- Seals, Wood Doors and the Weather Fights Back
The Subsystem-First Diagnostic Framework
Every garage door system is five subsystems working together: the spring and cable assembly that counterbalances the door’s weight, the track and roller system that guides it, the opener and its drive, the safety sensors that watch the doorway, and the seals that keep weather out. When something goes wrong, the failure lives in one of those five places. The trick is ruling them out in order, not fixing whatever looks most broken.
Here’s the sequence we use, and you can run it from the ground in under five minutes:
- Disconnect the opener. Pull the red release cord so the door runs on manual. If it now opens and closes smoothly by hand, the springs and track are likely fine and the problem sits with the opener or sensors.
- Lift the door halfway and let go. A properly balanced door stays put. If it slams down or drops fast, the springs are weak, broken, or out of adjustment. Stop here and call a technician.
- Look up at the torsion bar. A clean gap in the coil means a broken spring. On extension-spring doors, check for a stretched or snapped spring along the horizontal track.
- Run your eye down both vertical tracks. Dents, bends, or a track that has pulled away from the jamb will cause binding and noise.
- Check the sensors last. Look for a fogged or dirty lens, a misaligned bracket, or a wire that’s been bumped loose.
This order matters because most homeowners start with the sensors. If the door won’t close evenly, binds halfway, or jumps on the track, sensors won’t fix that. We’ve walked Richmond homeowners through this sequence on the phone plenty of times, and isolating the subsystem first is the difference between a twenty-minute fix and a weekend of false starts.
Richmond Failure Patterns You’ll Actually See
Richmond is a specific place to own a garage door. The weather here is mild year-round, which sounds like it should be gentle on hardware. In practice, the same mildness creates two recurring problems: morning fog that collects on sensor lenses, and winter rains that swell wood doors and warp bottom seals. Neither of those is dramatic, and neither gets covered by a generic troubleshooting chart written for a national audience.
What we see most often:
- Fogged sensor lenses. Richmond’s morning fog leaves a fine film on the sensor eye, and the door reads that as an obstruction. A dry cloth on both lenses solves it more often than any wiring repair.
- Warped bottom seals. The rubber or vinyl seal at the bottom of the door takes on moisture and stops sitting flat. The warp creates resistance, the opener reads resistance as an obstruction, and the door reverses before closing. Homeowners assume the sensors are broken; usually the seal is the culprit.
- Wood door swelling in winter rains. Solid wood and wood-composite doors absorb moisture and swell just enough to bind against the jamb or track. A door that worked in October starts scraping in January. In most cases it settles back once the wood dries, but the rollers and hinges take the wear in the meantime.
- Track alignment drift on older homes. Richmond has a lot of older housing stock, and tracks that were installed decades ago drift out of plumb as the framing settles. The result is a door that runs fine for months and then starts rubbing on one side.
- Opener strain from heavy wood doors. Wood doors weigh more than steel, and an opener sized for a lighter door runs hot and trips its overload protection.
Aging is the other thread. Doors installed in the 1980s and 1990s around Richmond are reaching the age where springs fatigue, rollers flat-spot, and openers lose their force calibration. None of that is an emergency, but it’s why a door that “worked fine last year” suddenly doesn’t.
Springs and Cables: What to Check, What to Leave Alone
We’re going to be direct here: torsion spring tension and cable drum work are the two jobs you should never attempt yourself. A torsion spring under load stores enough energy to cause serious injury if it releases unexpectedly, and the winding bars, the cones, and the cable drums all sit under that tension. A trained technician with the right tools and a proper winding procedure is the only safe path. This isn’t a liability hedge; it’s the honest answer that any experienced technician will give you.
What you can do safely is identify the problem so you know what to tell the technician when you call:
- Broken torsion spring: a visible gap in the coil above the door. The door will feel extremely heavy and may not lift at all.
- Broken extension spring: a snapped spring along the horizontal track, often with the safety cable still holding it.
- Uneven lift: one side of the door rises before the other. That can be a stretched spring or a cable that has come off its drum.
- Cable off the drum: a slack cable hanging loose, or a cable that’s wrapped unevenly. Do not touch it. The door can drop.
- Loud bang from the garage: usually a spring letting go. The door becomes very heavy immediately; don’t force the opener to lift it.
If you suspect any of the above, keep the door closed and call for garage door repair. A broken spring is one of the most common calls we get in Richmond, and it’s a job that’s finished in a single visit once the right spring is matched to the door’s weight and drum size. For a door that’s been sitting with a broken spring for a while, the opener often gets damaged too, because homeowners keep pressing the remote and forcing the motor to fight a door it can’t lift.
Tracks, Rollers and the Alignment Problems Behind Most Noisy Doors
If your door is loud, jerky, or scraping, the track and roller system is where to look first. Tracks do two things: they guide the door’s path, and they carry the door’s weight at the horizontal section. When either function degrades, the door complains. Grinding, squealing, popping, and a door that shudders on the way down all point here.
Safe things to check from the ground:
- Look down both vertical tracks from the floor up. A dent, a bend, or a track that has pulled away from the wall is visible without tools. Don’t try to bend a track back into shape; the geometry has to be set precisely or the door will bind worse.
- Inspect the rollers. Steel rollers flat-spot and get noisy. Nylon rollers wear more quietly but can crack. A roller that wobbles in its hinge is on its way out.
- Check the hinges for looseness. Hinges that have worked loose let the door sag and rub. Snug bolts are fine to tighten yourself, but don’t overtighten or you’ll strip the wood or metal.
- Listen to where the noise comes from. A squeal from the top of the door usually points to the torsion bar or the top rollers. A grind at the floor usually points to the bottom rollers or a track out of alignment.
- Look at the gap between the door and the track. It should be even on both sides. If one side is closer, the door is out of square.
We’ve found that a lot of Richmond doors that “need a new opener” actually just need a track straightened and a set of rollers replaced. If your opener is straining but the door is binding, replacing the opener won’t fix the bind. It’ll just make the opener louder. That’s worth knowing before you spend money on the wrong part.
Diagnosing the Opener Without Guessing
Opener repair is where brand knowledge matters most, and it’s a specialty here rather than a side service. A LiftMaster, a Chamberlain, a Genie, and a Craftsman all behave differently when they fail, and the same symptom can mean different things depending on the drive type. Chain drives, belt drives, screw drives, and jackshaft openers each have their own failure points.
Start with these checks. They’re safe and tell you a lot:
- Does the wall button work but the remote doesn’t? That points to the remote, the receiver, or the battery before it points to the motor.
- Does the opener run but the door doesn’t move? Check the manual release. If it’s been pulled, the trolley is disconnected. Re-engage it and try again.
- Does the opener hum without moving? That can be a stripped gear, a bound door, or a capacitor. Stop pressing the button and get it looked at.
- Are the lights blinking in a pattern? That’s the opener’s diagnostic code. Count the blinks and write them down; they mean something specific on your brand, and a technician can decode them in seconds.
- Is the door reversing immediately? Disconnect the opener and test the door by hand. If it’s heavy, the problem is the spring, not the opener.
If you want to know what your opener is telling you, garage door opener repair covers the brand-by-brand diagnostics. We’re factory-familiar with LiftMaster, Chamberlain, Genie, Clopay, Amarr, Wayne Dalton, Craftsman, and Raynor systems, which means we read the code against the right manual rather than guessing. If your opener is 15 years old or older and has failed a second time, replacing it is often the more sensible call than another repair, and we’ll tell you that plainly when it’s true.
Safety Sensors and the Force-Control Test Most Homeowners Skip
The safety sensors are the two small eyes at the bottom of the tracks, one on each side of the door. They send an invisible beam across the opening; if anything breaks the beam, the door reverses. But there’s a second safety system most homeowners never test: the force control. It measures how much resistance the door meets and reverses the door if the resistance is too high. A door can pass the sensor test every time and still fail the force test.
This is why a door that “works fine” can still crush a 2×4. The sensors only catch an obstruction that crosses the beam. The force control is what catches an obstruction the door meets on the way down. If the force setting is too high, the door will push through it rather than reverse. Manufacturers set the force control at the factory and it should never be turned up to compensate for a binding door; that’s a common shortcut that defeats the safety system entirely.
Here’s the safe check:
- Open the door fully and stand clear of the path.
- Lay a 2×4 flat on the floor in the center of the doorway, under the door.
- Press the button to close. The door should reverse on contact with the board, not push through it or stop on top of it.
- If it pushes through, stop using the door and call a technician. The force control or the door’s balance is out of adjustment.
Test the sensors the same way with the beam: wave a hand across the beam while the door is closing. If the door doesn’t reverse, the sensors or their wiring need attention. In Richmond, the foggy mornings mean a dirty or fogged lens is worth cleaning before you assume a wiring fault. The sensors themselves are cheap and replaceable; the calibration is the part that matters.
Brand-Specific Quirks: Why the Same Blink Means Different Things
Here’s a diagnostic reality that catches a lot of homeowners: a Chamberlain blinking ten times and a LiftMaster blinking ten times are telling you two different things. Both brands fall under the same corporate family, but the fault codes are not interchangeable, and neither are the troubleshooting steps. Generic advice written for “all openers” gets this wrong constantly.
The same pattern plays out across other brands:
- Craftsman openers use their own code set, and the older models have a reputation for the logic board failing in ways that mimic a sensor problem.
- Wayne Dalton doors often ship with proprietary torsion systems or TorqueMaster-style spring tubes, which change how you diagnose a balance issue.
- Raynor systems have their own track and hinge geometries, and the wrong replacement roller can cause a bind that didn’t exist before.
- LiftMaster smart openers have MyQ connectivity that can fail independently of the door’s mechanical operation, which sends people chasing a dead remote when the real issue is the network.
This is where brand-matched service matters. We work on LiftMaster, Chamberlain, Genie, Clopay, Amarr, Wayne Dalton, Craftsman, and Raynor systems, and knowing each one’s actual failure points is the difference between a real diagnosis and a parts swap. If the door is a Clopay with a Chamberlain opener, both systems need to be read correctly. A technician who knows the brand will ask the right question first.
Seals, Wood Doors and the Weather Fights Back
The weather seal is the part everyone ignores until it fails, and when it fails it imitates other problems. The bottom seal runs along the floor; the perimeter seal runs around the frame; the threshold seal sits on the concrete. Any of them can warp, tear, flatten, or pull loose.
What a failing seal does:
- Trips the force control. A warped bottom seal drags on the floor, creating resistance. The opener reads resistance as an obstruction and reverses. This is the single most common misdiagnosis in Richmond doors.
- Lets water and pests in. A flat or torn seal admits water during winter rains and gives insects and rodents an entry point.
- Causes drafts and heat loss. A worn seal lets conditioned air escape and outside air in, which is more noticeable in a garage used as a workspace.
- Wears the door’s finish. A seal that has pulled loose can rub the paint off the door’s bottom edge.
Replacing a bottom seal is one of the few repairs a confident homeowner can do with basic tools, but it has to be the right profile for the door. A seal that’s too thick will bind; one that’s too thin won’t close the gap. If your door is wood and it’s swelling in the winter, the seal is often the first thing to check and the cheapest to fix. If the door is binding on the jamb rather than the floor, the door itself may need adjustment and the seal isn’t the problem.
Common Mistakes to Avoid
- Blaming the sensors first. The sensors are the easiest target and often not the cause. A warped bottom seal, a heavy door, or a binding track will all mimic a sensor failure.
- Turning up the force control to make the door close. If the door needs more force, something is binding or the spring is weak. Raising the force setting turns off the safety system instead of fixing the problem.
- Pressing the button on a broken spring. Repeatedly running an opener against a door it can’t lift is one of the fastest ways to turn a spring repair into a spring-and-opener repair.
- Buying a new opener for a door that’s binding. A new opener on a binding door is loud, strained, and short-lived. Fix the track and rollers first, then decide about the opener.
- Forcing a warped seal with muscle. A bottom seal that won’t sit flat is usually the wrong profile for the door, not a seal that needs pressing into place. Forcing it warps it further.
- Ignoring the fog on a Richmond morning. A fogged sensor lens is a five-second fix with a dry cloth. Cleaning the lens before calling anyone saves a service visit.
- Assuming all blink codes mean the same thing. A Chamberlain code and a LiftMaster code are not interchangeable, and neither is a Craftsman code. Write down the count and the brand before you call.
See the difference
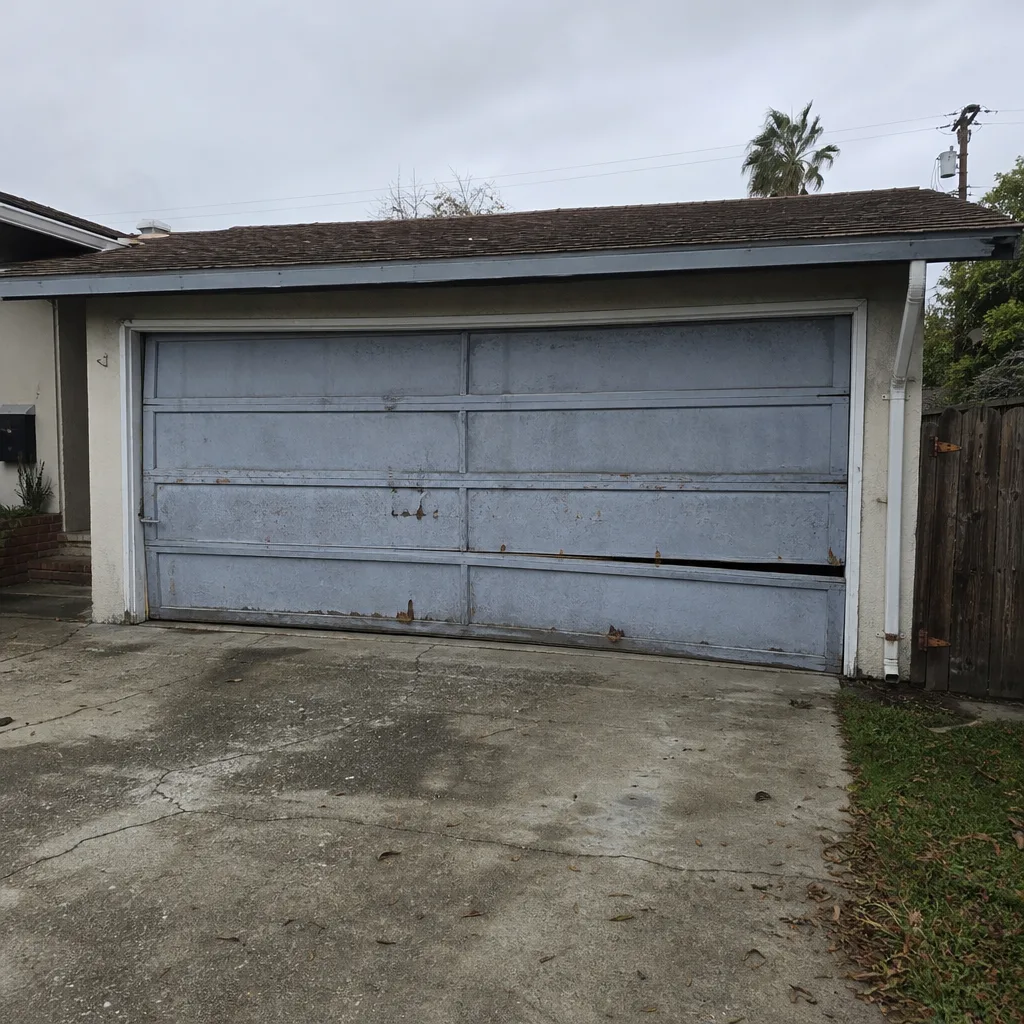 Before
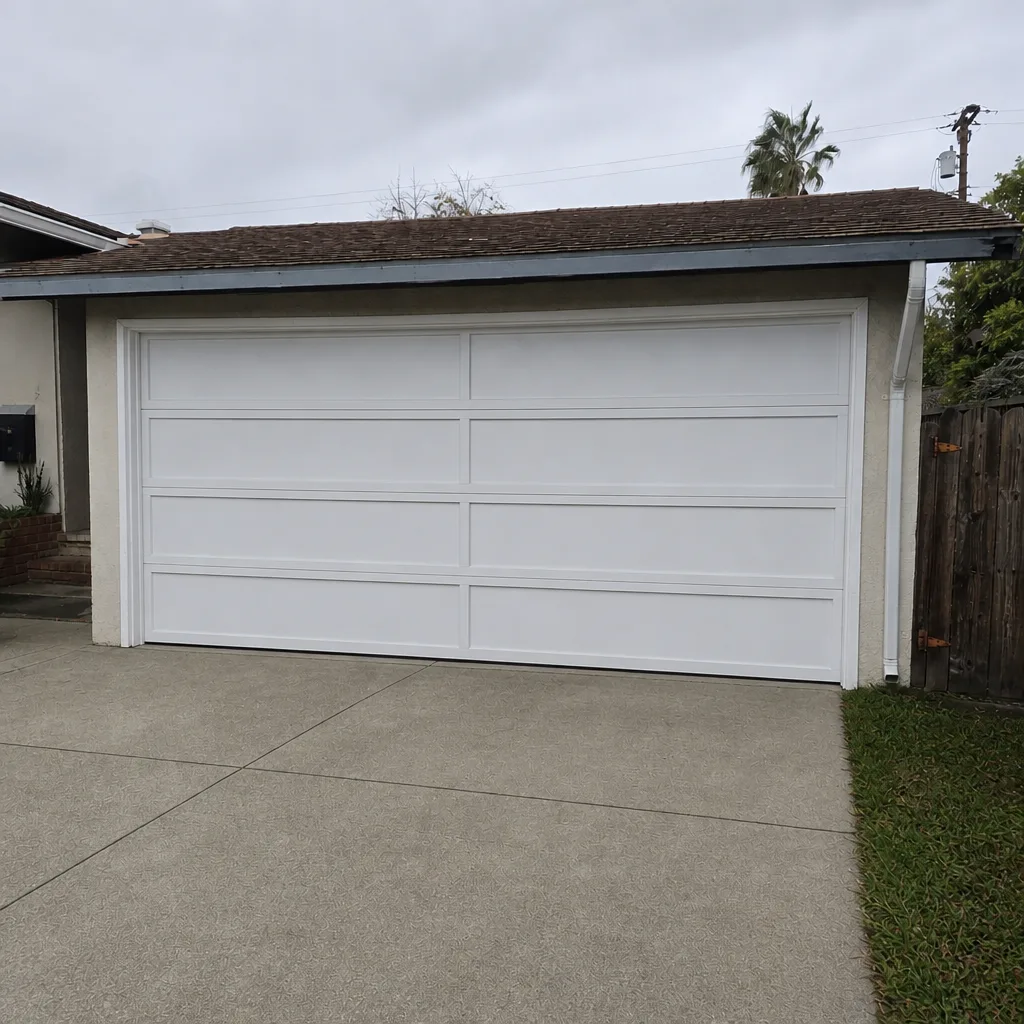 After
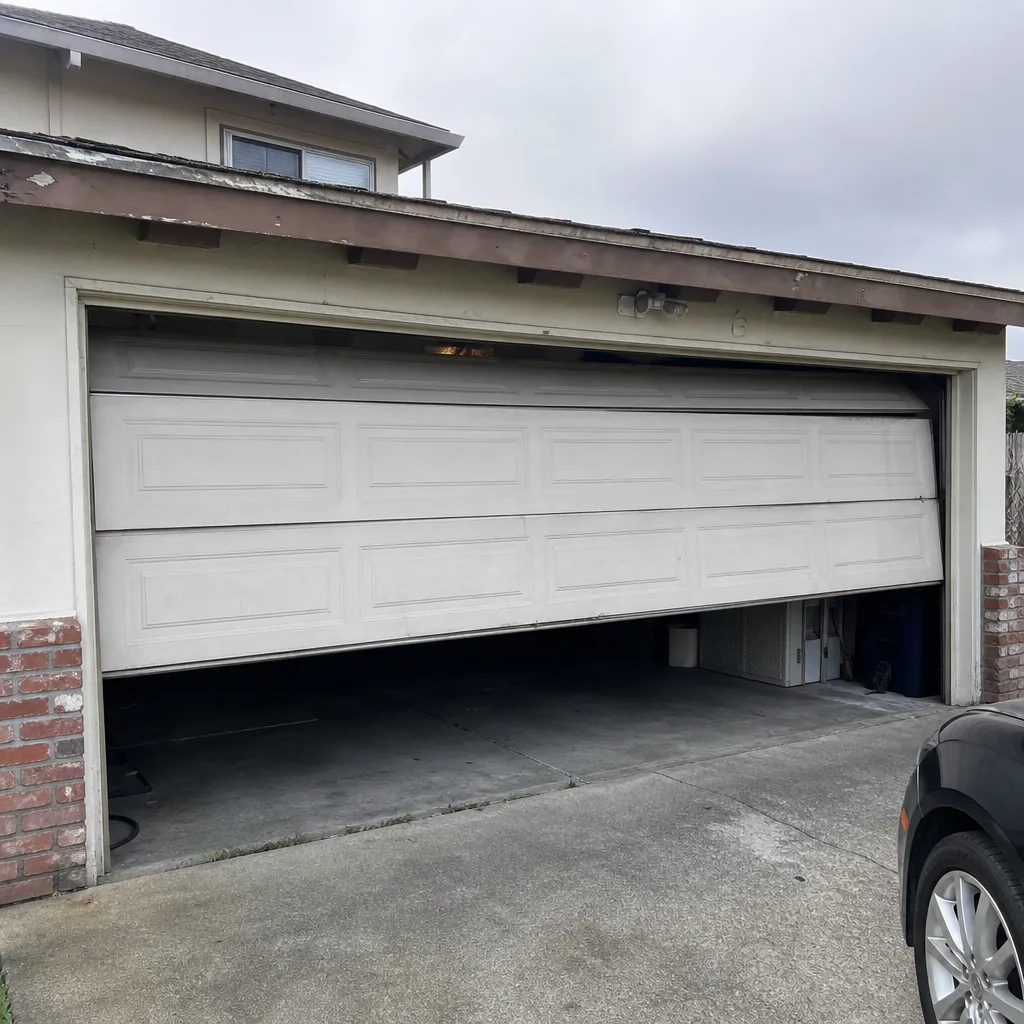 Before
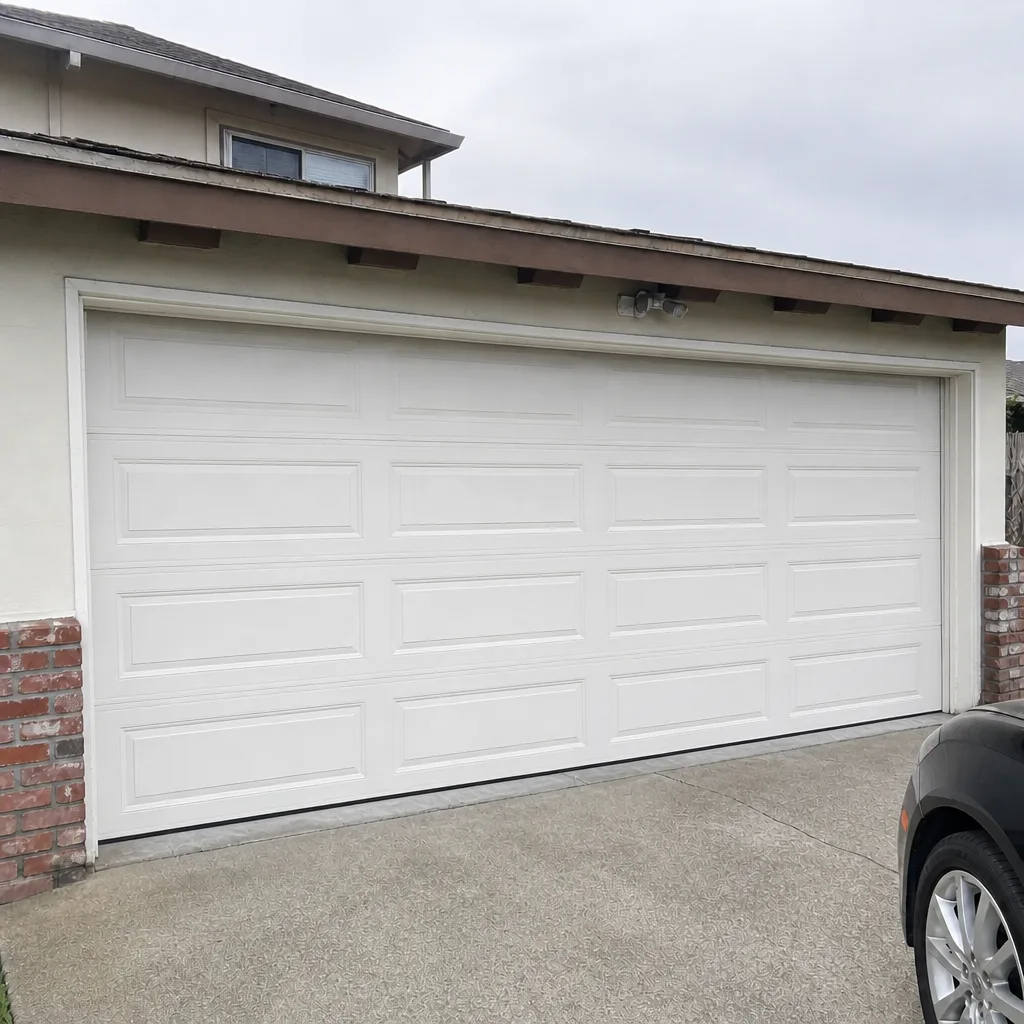 After
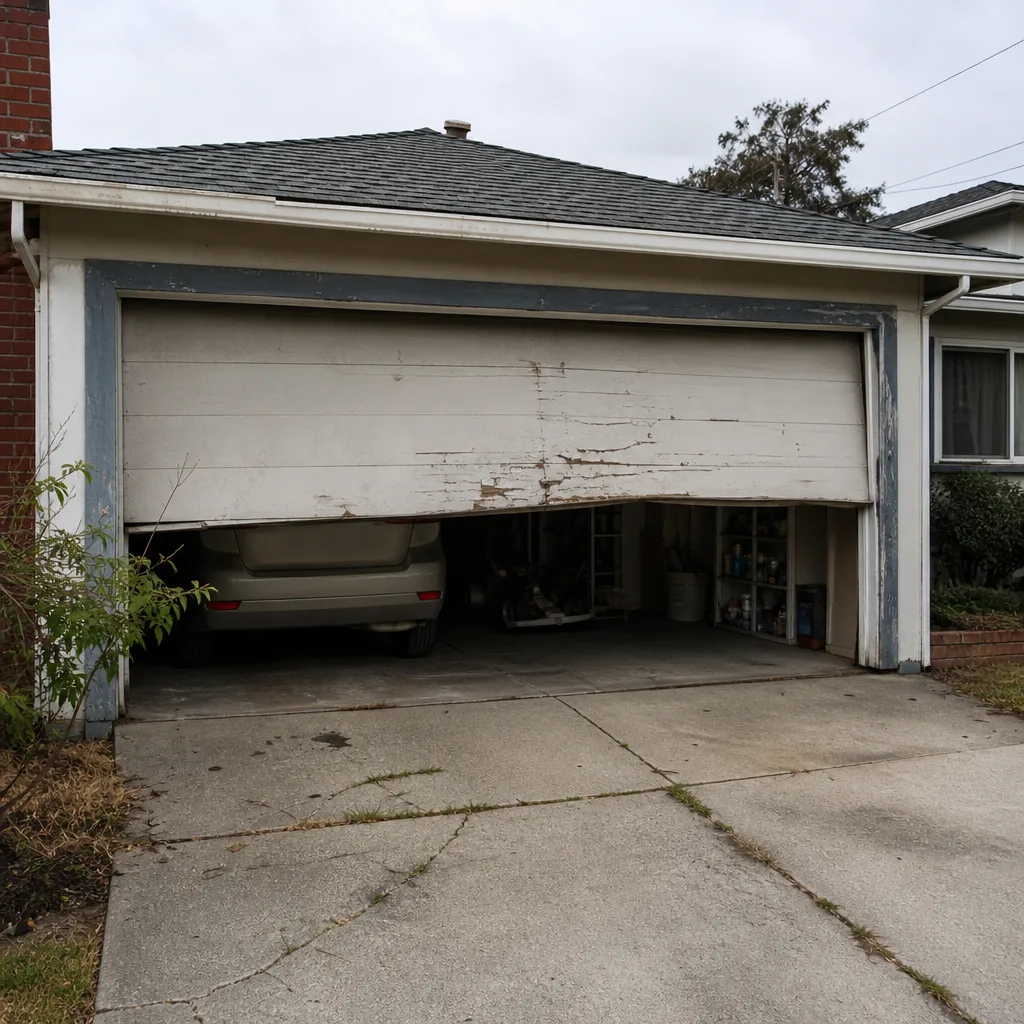 Before
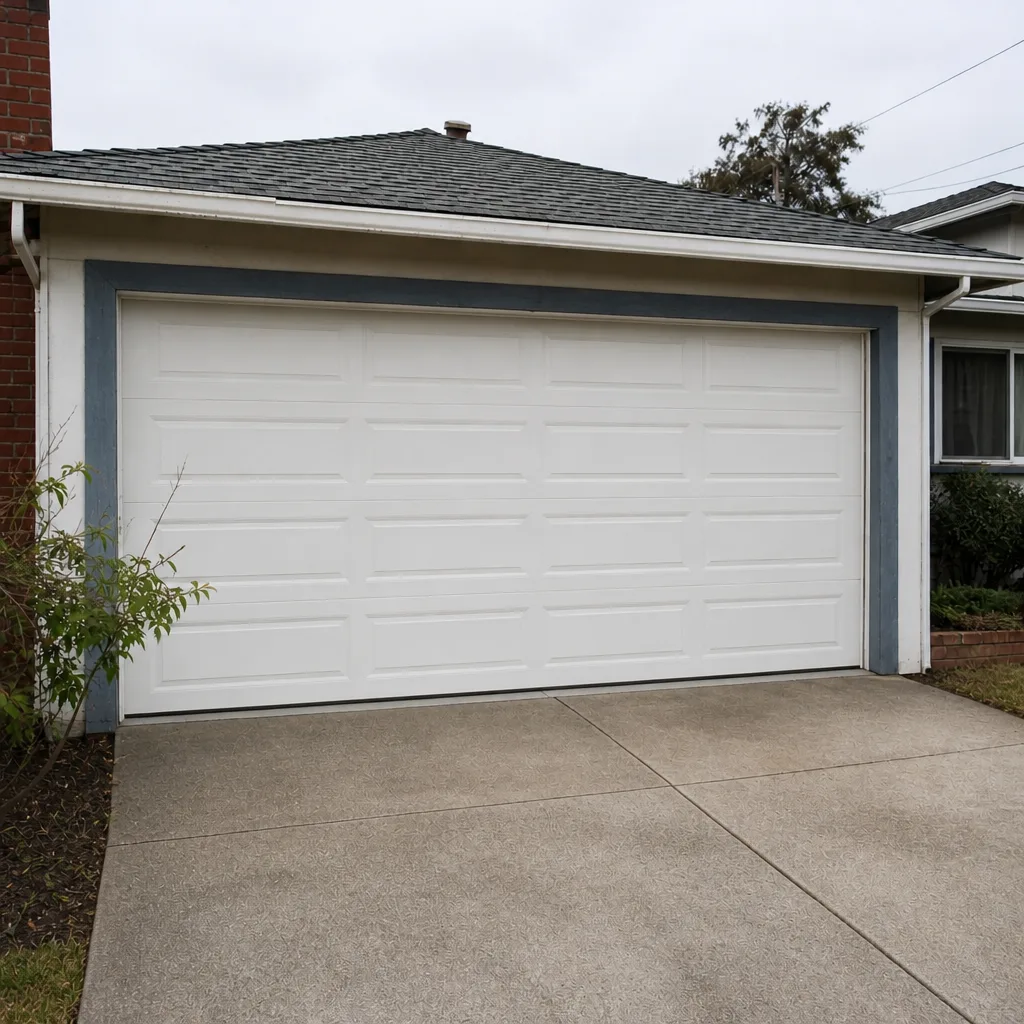 After
When to Call a Professional
Some jobs are genuinely yours to handle: cleaning sensor lenses, tightening loose hinge bolts, testing the force control with a 2×4, and replacing a bottom seal with the correct profile. Others are not. Call a professional if you suspect a broken or weak torsion spring, if a cable has come off its drum, if the door is uneven, if the door drops when you lift it halfway, or if the force test shows the door won’t reverse on contact. Those are the failures where the stored energy in the system can hurt you, and where a wrong adjustment can leave the door unsafe in a way you won’t notice until you need the safety system to work.
Silverline Garage Door Repair offers free estimates in Richmond. We answer 24/7. Fast dispatch from 7am to 7pm, Sunday through Friday. Call (833) 519-3675 and describe what the door is doing; we’ll tell you whether it’s safe to use in the meantime.
Frequently Asked Questions
The most common cause is a warped bottom seal dragging on the threshold and tripping the opener’s force control, followed by fogged or dirty safety sensor lenses and a misaligned sensor bracket. Check the sensors first because it’s a five-second fix, then look at the bottom seal for a warp or tear. If the door reverses slowly and the seal looks fine, the force control is likely out of adjustment and needs a technician. Call (833) 519-3675 for a free estimate.
Repair pricing is set per job by a written estimate, and we don’t quote over the phone because the right part depends on your door’s weight, brand, and the specific failure. A sensor replacement, a roller set, and a spring replacement are three very different jobs with very different parts. The estimate is free and the price is agreed before any work starts. Call (833) 519-3675 and we’ll book a visit.
Often yes for repair and opener work. We answer 24/7. Fast dispatch from 7am to 7pm, Sunday through Friday. A call outside dispatch hours is booked into the next opening, Sunday through Friday, 7am to 7pm. New installation is different: it’s measured, ordered, and scheduled, so we promise a free measure and a written price rather than a same-day appointment.
No. The written estimate sets the price, and we agree it with you before any work starts. If we open the door and find a second failed component that wasn’t visible from the ground, we’ll show you and give you a revised estimate before touching it. You’re never invoiced for work you didn’t approve. Call (833) 519-3675 for a free estimate.
For common repairs, yes: springs, rollers, hinges, sensors, and seals are carried so most repair calls finish in a single visit. Brand-specific opener parts for LiftMaster, Chamberlain, Genie, Craftsman, and the rest may need to be ordered if your model uses a part we don’t stock, and we’ll tell you the timeline when we diagnose it. Call (833) 519-3675 to get on the schedule.
Probably not, but don’t ignore it. A blinking opener is reporting a fault it has logged, and the code means something specific on your brand. A Chamberlain code and a LiftMaster code are different even when the blink count matches. Write down the brand and the blink count, then call (833) 519-3675 and we’ll tell you what it’s reporting and whether it needs a visit.
The Bottom Line
Garage door troubleshooting in Richmond comes down to one habit: isolate the subsystem before you touch a part. Springs, tracks, opener, sensors, and seals each fail in their own way, and the same symptom can come from any of them. The five-minute sequence at the top of this guide rules out the big ones fast. Springs and cables always go to a technician; sensors, seals, and hinge bolts are fair game for a careful homeowner. Know your brand, write down your blink codes, and run the 2×4 force test. If you’d rather have someone look at it, Richmond homeowners can call Silverline Garage Door Repair at (833) 519-3675 for a free estimate. We answer 24/7, fast dispatch from 7am to 7pm, Sunday through Friday, and the written estimate is the price.
Written by the team at Silverline Garage Door Repair, serving Richmond since 2012.