
Last updated November 14, 2026
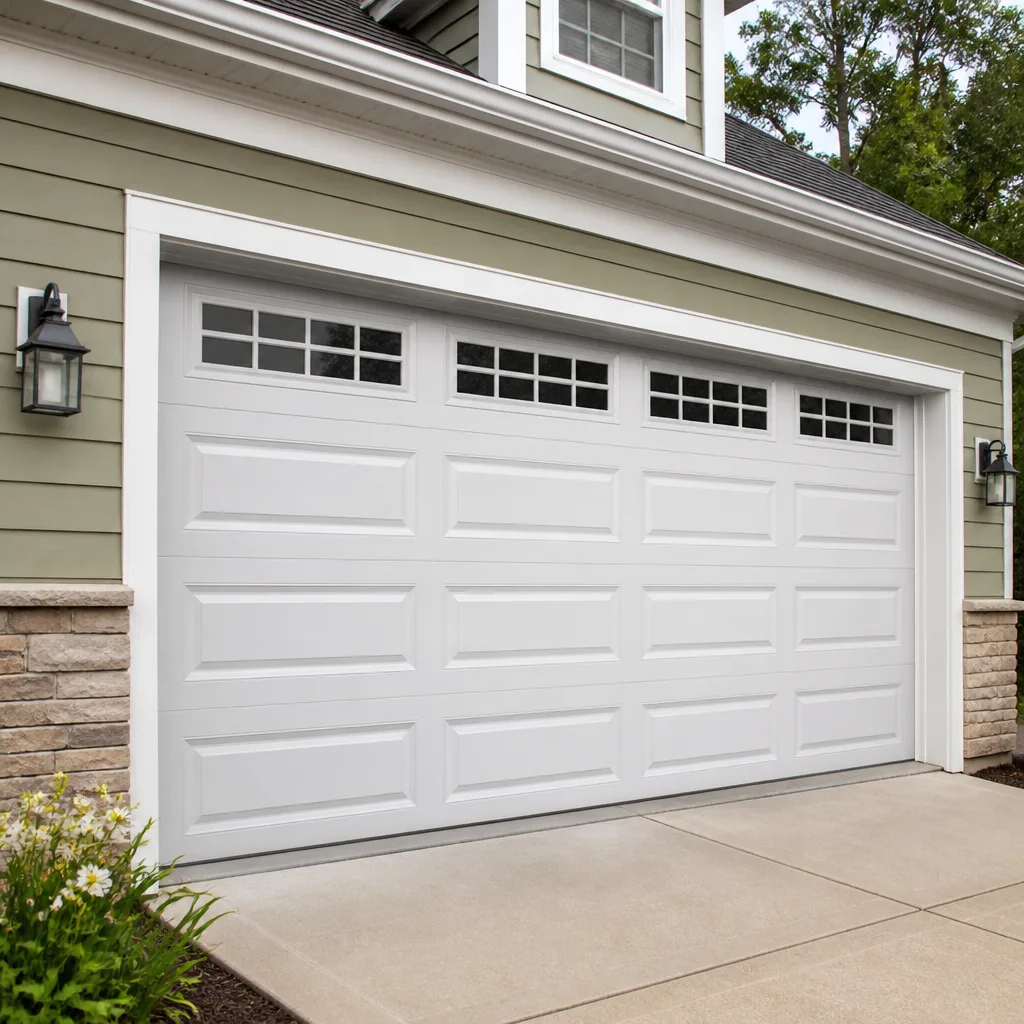 Raised-panel steel
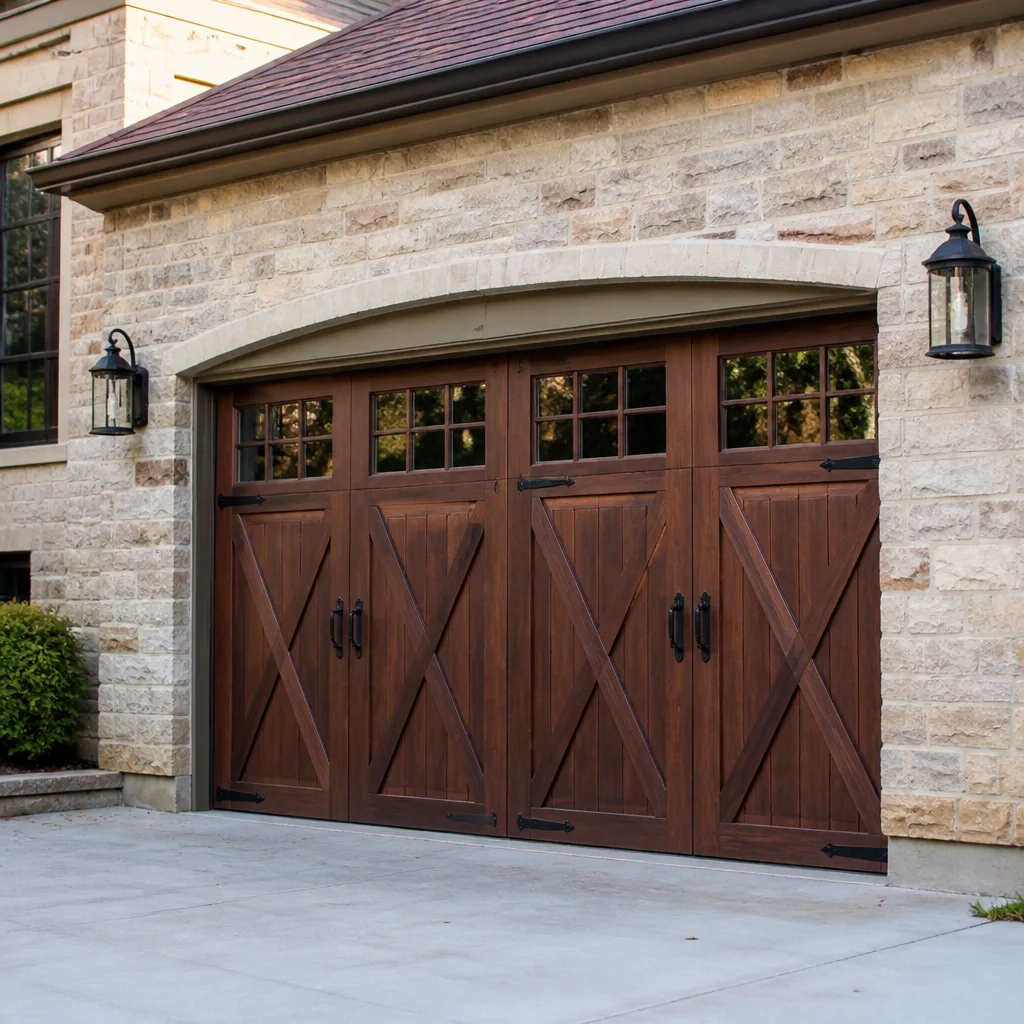 Carriage house
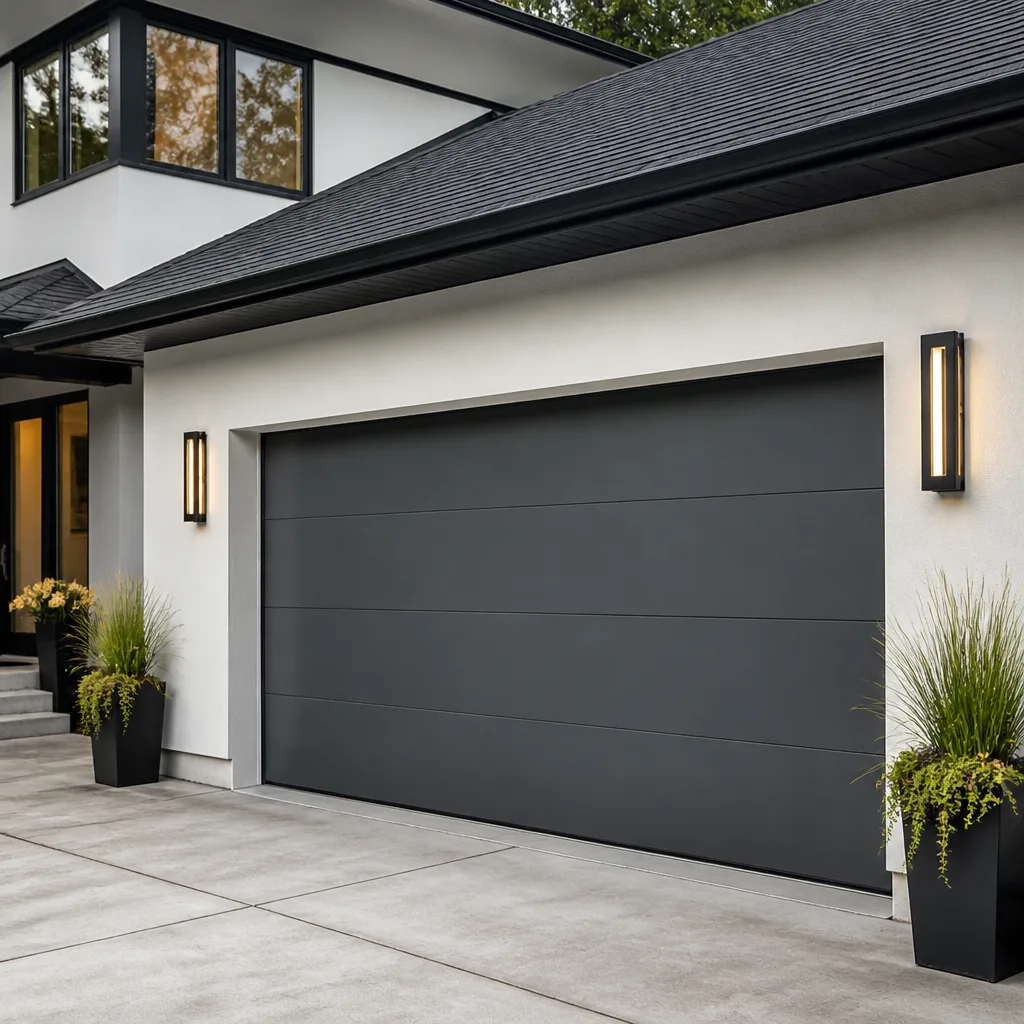 Modern flush
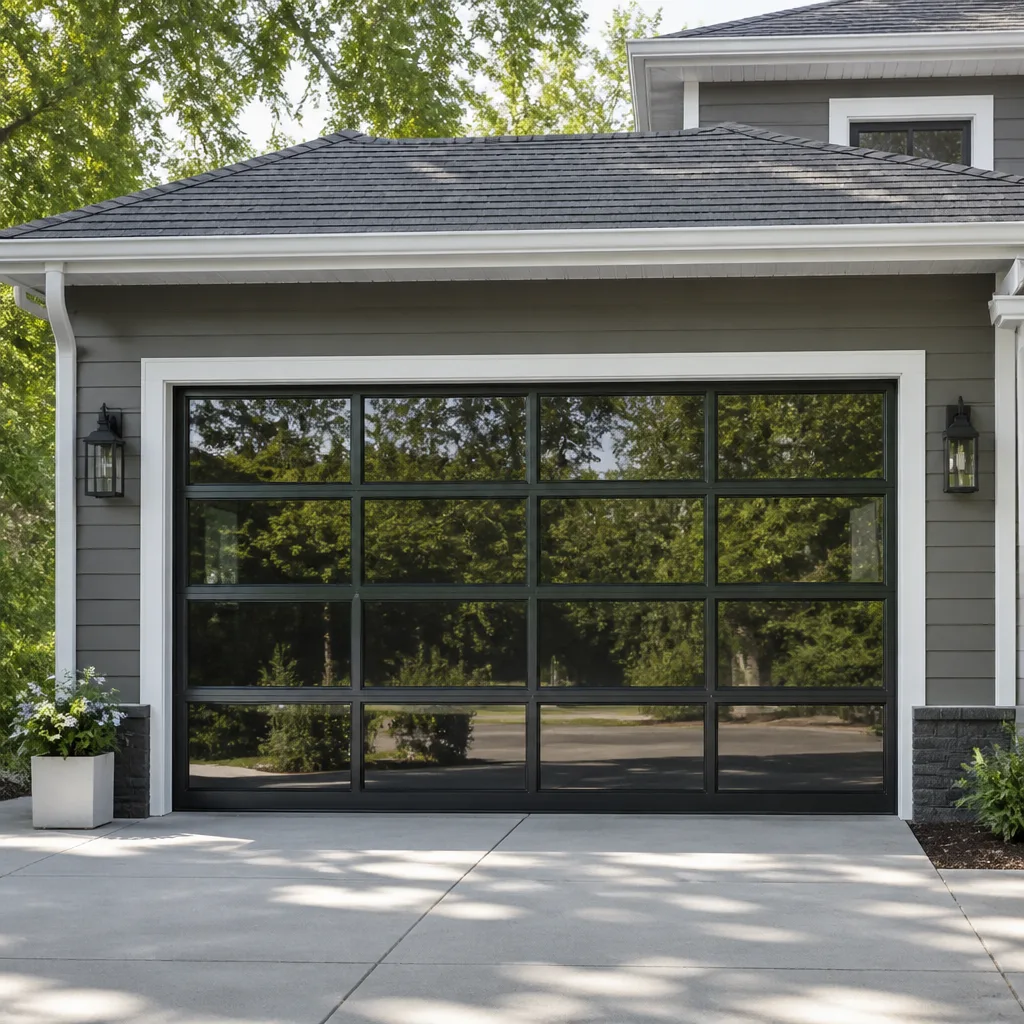 Full-view glass
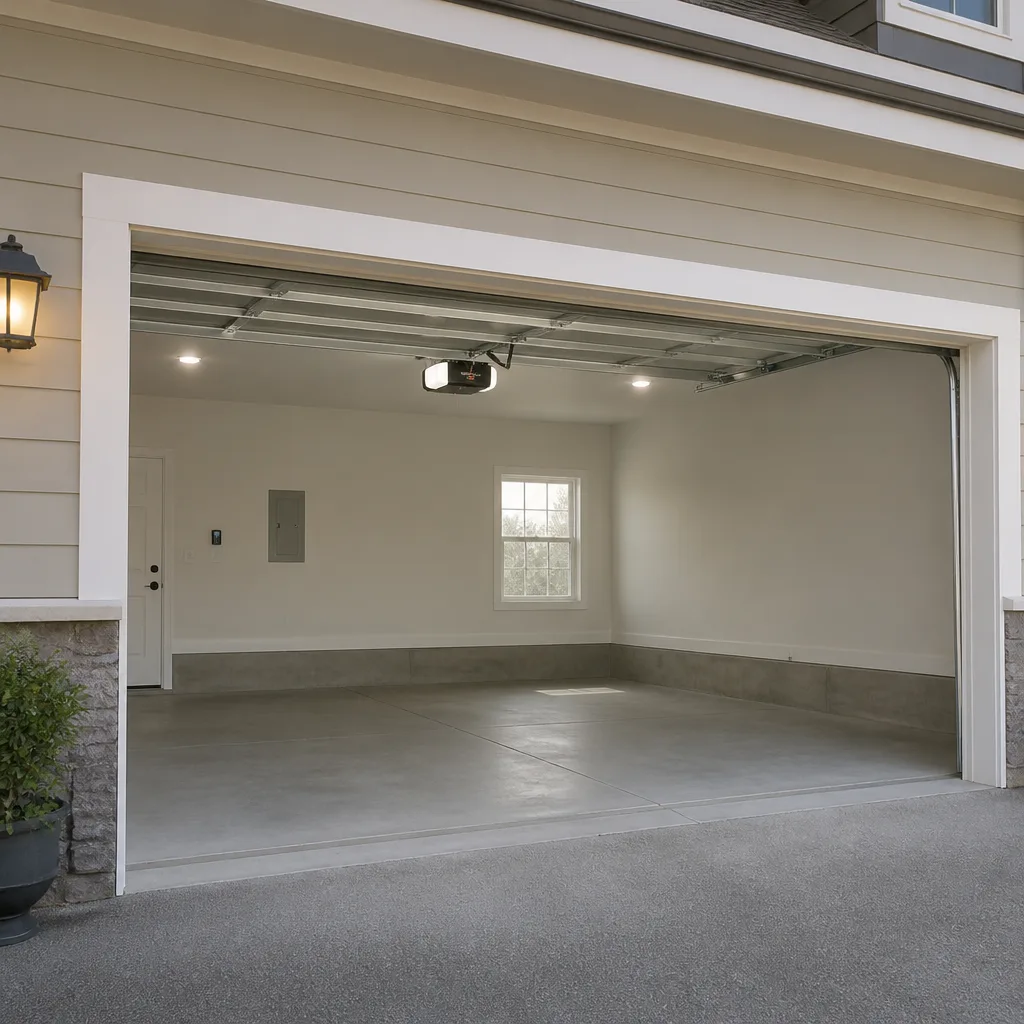 LiftMaster openers
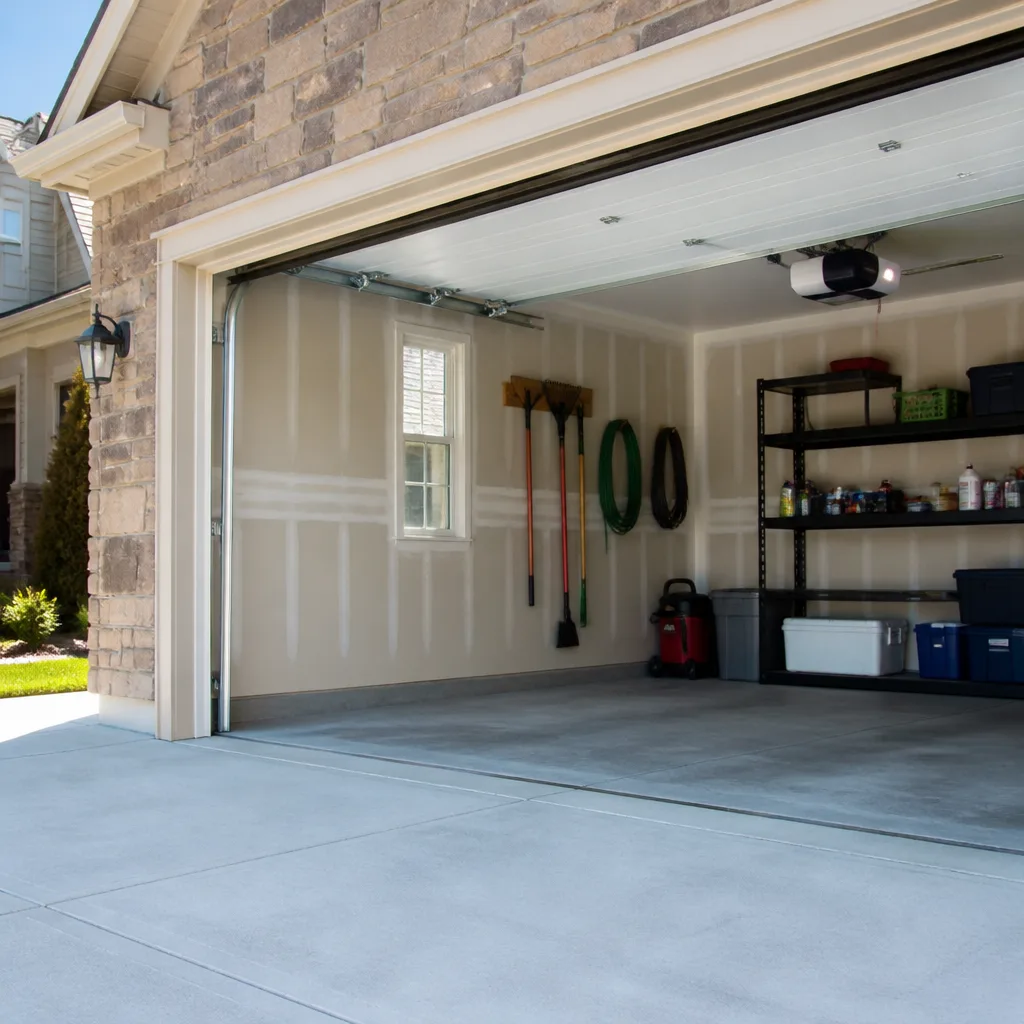 Chamberlain openers
Full 25-point door and opener safety check with every visit - springs, cables, rollers, tracks, and your LiftMaster or Chamberlain opener included
You get a price before we start. It does not change when the truck arrives.
Get your free estimateDIY vs Professional Garage Door: The Richmond Homeowner’s Decision Guide
Most homeowners ask the wrong question first. They ask “am I handy enough to fix this?” when the better question is “what does it cost me if I’m wrong?” A torsion spring holds serious energy when it’s wound, and a cable under tension can snap without warning. A broken bracket on a track can drop a 150-pound door. The tasks that look simple on video often aren’t the ones that matter. This guide sorts garage door work into what’s genuinely within reach and what isn’t, with real Richmond numbers so you can decide with a clear head instead of a nervous guess.
Styles & brands we work with
- Raised-panel steel
- Carriage house
- Modern flush
- Full-view glass
- LiftMaster openers
- Chamberlain openers
Quick Answer
Most garage door repairs in Richmond are best left to a professional because springs, cables, and opener wiring carry real injury risk and the parts are cheap relative to the labor. Weatherstripping, sensor cleaning, opener programming, and lock lubrication are safe DIY jobs for a careful homeowner. Everything else – torsion springs, cable replacement, track realignment, motor wiring – should go to a trained technician. If your door won’t open or close safely, call (833) 519-3675. We answer 24/7.
Table of Contents
- Which Garage Door Repairs Are DIY-Safe?
- Why Your Door Brand Changes the DIY Equation
- What Garage Door Repairs Cost in Richmond
- California Liability and Insurance When You DIY
- How to Safely Do the DIY Tasks That Are Within Reach
- Opener Systems: Where DIY Gets Murky
- The Professional-Only Repairs and Why
- Common Mistakes to Avoid
- When to Call a Professional
Which Garage Door Repairs Are DIY-Safe?
The garage door system splits cleanly into two categories: components you touch with your hands at zero tension, and components that store mechanical energy. The first group is genuinely within reach for a careful homeowner. The second group is not, and no amount of YouTube confidence changes the physics.
Here’s the practical split we walk Richmond homeowners through when they call to ask whether a repair is something they should attempt:
DIY-safe tasks
- Weatherstripping replacement – the rubber or vinyl seal along the bottom and sides of the door. No stored energy, no springs, no wiring.
- Safety sensor cleaning and alignment – the photo-eye sensors near the floor that prevent the door from closing on a person or pet. A soft cloth and a screwdriver handle most jobs.
- Opener remote and keypad programming – pairing a new remote to a LiftMaster or Chamberlain unit is a button-press sequence in the manual.
- Manual lock lubrication – a few drops of graphite or silicone spray on the lock cylinder and slide bolt.
- Visual inspection – looking for worn rollers, frayed cables, or bent track sections. Seeing the problem is always safe; fixing it isn’t always.
- Hinge and roller lubrication – a can of white lithium grease and five minutes twice a year.
Professional-only tasks
- Torsion spring replacement or adjustment – this is the one that sends homeowners to the emergency room.
- Extension spring replacement – lower energy than torsion but still under serious tension.
- Cable replacement – cables carry the door’s weight and can whip when they fail.
- Track realignment – a door off its track can fall without warning.
- Opener motor or capacitor replacement – involves 120-volt wiring and a unit that can drop.
- Panel replacement on a sectional door – the panel is heavy and the springs must be relieved before removal.
If you’re in Richmond and you’re looking at a spring or a cable, that’s the line. Call us for garage door repair and we’ll tell you straight whether it’s urgent or can wait for a scheduled visit.
Why Your Door Brand Changes the DIY Equation
Here’s what most DIY guides skip: the same repair can be a ten-minute job on one brand and a track-removal job on another. The brand on your door or opener isn’t cosmetic. It changes the hardware, the fastener sizes, and how much disassembly is required to reach the part.
Take rollers. On a Chamberlain opener with a standard sectional door, replacing a roller is usually a matter of loosening one hinge bracket, sliding the old roller out, sliding the new one in, and tightening it back down. Straightforward.
On a Wayne Dalton door, the same roller replacement can require removing the track bracket because the hinge design and roller placement differ. That’s not a brand flaw – it’s a design difference. But it means the task you watched a video for on YouTube may not match the door in your garage.
We work on eight major brands – LiftMaster, Chamberlain, Genie, Clopay, Amarr, Wayne Dalton, Craftsman, and Raynor – and the differences matter. When we quote a repair, the price reflects what the specific system actually needs, not a generic estimate. That’s the point of a brand-matched approach: the parts and the procedure match what’s already hanging in your garage.
If you don’t know your door brand, look for a sticker on the inside of the top panel or the back of the opener housing. If you can’t find it, a photo sent to us helps identify the system before we arrive. A Clopay door from 2005 and an Amarr door from 2018 may look identical from the street and need completely different parts.
What Garage Door Repairs Cost in Richmond
DIY decisions are easier when you know the actual numbers. The table below shows typical Richmond cost ranges for common repairs, split into what the part costs and what a professional job runs. These are estimates, and the written estimate sets the final price. Every job is different, and a door that looks like a simple spring swap can turn into a full spring-and-cable job once we’re on site.
| Repair | Typical part cost | Typical professional cost | DIY verdict |
|---|---|---|---|
| Torsion spring (single) | $40-$80 | $280-$420 | Professional only |
| Torsion spring (matched pair) | $80-$160 | $450-$700 | Professional only |
| Cable replacement | $15-$40 | $180-$320 | Professional only |
| Roller replacement (set of 10) | $25-$60 | $150-$280 | Professional, brand-dependent |
| Weatherstripping (bottom seal) | $20-$50 | $120-$200 | DIY-safe |
| Safety sensor replacement | $15-$40 | $100-$180 | DIY-safe |
| Opener motor capacitor | $15-$35 | $150-$280 | Professional only |
| Track realignment | N/A | $150-$350 | Professional only |
| Remote or keypad programming | $20-$45 | $0 (DIY) or service call | DIY-safe |
Look at the spring line. A single torsion spring costs $40 to $80 in parts. A professional replacement runs $280 to $420. The savings look real until you factor in the risk. A wound torsion spring stores enough energy to break a wrist or send a winding bar through drywall. That $200 gap is the cheapest insurance you’ll ever buy.
Now look at weatherstripping. You can buy the seal for $20 and install it in 20 minutes with no risk. Paying a technician $150 to do it is money for convenience, not safety. That’s a fair trade if you’d rather not climb a ladder, but it’s not a safety decision.
Richmond labor runs similar to the rest of the East Bay, and the mild climate here means doors and springs age on a normal schedule without the extremes that shorten lifespan in other parts of the country. We see fewer cracked panels and more worn rollers, worn springs, and opener capacitors that fail after a decade. If you want an exact quote for your door, call (833) 519-3675. Estimates are free, and the price is agreed before any work starts.
California Liability and Insurance When You DIY
An attached garage is part of your home’s living envelope. Under California residential building code, an attached garage must be separated from the living space by a fire-rated assembly, and the door between the garage and the house must be self-closing and self-latching. If your repair work damages the door’s balance, the tracks, or the opener’s safety reverse, you’re not just risking the door. You may be compromising a component your home inspection and insurance policy treat as part of the structure.
Two specific things matter for Richmond homeowners considering a DIY repair:
- Homeowner insurance claims. If a door falls on a car, a person, or the garage structure because of a DIY repair, an insurance adjuster will ask who did the work and when. Most policies cover the resulting damage, but a claim tied to unpermitted or improper work can complicate the adjustment. If the door was being repaired by a professional, the liability picture is simpler. Pro work is documented, and the technician’s workmanship is what the insurer evaluates.
- Safety reverse requirements. California follows the national standard that requires an automatic reverse on any opener manufactured after 1993 and photo-eye safety sensors on doors installed after that point. If you replace an opener yourself and get the sensor height or wiring wrong, the door may close on a person or a pet. That’s the scenario the code exists to prevent, and it’s the one that carries real liability.
None of this is meant to scare you away from the weatherstripping or the sensor cleaning. Those jobs don’t touch the safety systems. But once you’re inside the opener housing or under the door with a wrench, the work is regulated, and the liability shift is real. If you’re unsure how your specific repair lands, the Richmond building department can answer code questions about the door assembly, and we can tell you what a repair involves before you decide.
How to Safely Do the DIY Tasks That Are Within Reach
These are the jobs worth doing yourself, with the actual tools required. Not “a wrench” – the specific tools that make the job go cleanly. Work on a stable ladder, not a step stool. Get a helper if the door needs to be moved and held.
1. Replace the bottom weather seal
- Close the door and measure the width at the bottom panel in inches.
- Buy a replacement seal matched to your door brand – Clopay, Amarr, and Wayne Dalton use different track profiles.
- Slide the old seal out of its aluminum retainer (some retainer types require removing two screws at the end of the track).
- Slide the new seal in, starting from one end, and work it through the length of the retainer.
- Trim the excess with a utility knife and check for gaps by closing the door and looking for daylight.
2. Clean and realign the safety sensors
- Locate the two photo-eye sensors, one on each side of the door, six inches above the floor.
- Wipe the lens with a soft microfiber cloth and a small amount of glass cleaner on the cloth, not sprayed directly on the sensor.
- Check that both sensor LEDs are solid, not blinking. A blinking LED means misalignment or obstruction.
- Loosen the wing nut on the bracket with a 7/16-inch wrench and adjust the sensor until the LED goes solid.
- Test by pressing the wall button with an object in the door’s path. The door should reverse immediately.
3. Program a new remote or keypad
- Locate the learn button on the opener motor housing (on LiftMaster and Chamberlain units it’s usually under the light lens cover).
- Press and release the learn button once, then press the remote button twice within 30 seconds.
- For a keypad, enter the four-digit PIN from the manual, then press the enter key.
- Test the remote from the far end of the driveway to confirm range.
None of these tasks touch stored spring energy or 120-volt wiring. If you’re comfortable on a ladder and have a 7/16-inch wrench, a utility knife, and a microfiber cloth, you can do all three. If your opener brand isn’t programmed the way the manual describes, the learn button location is often the culprit – call us and we’ll walk you through it.
Opener Systems: Where DIY Gets Murky
Openers sit in a gray zone. Some repairs are genuinely easy. Some look easy and aren’t. Knowing which is which saves you time and, occasionally, a nasty surprise.
Opener repair is a specialty, not a side service. In our experience, the majority of “my opener won’t work” calls trace back to one of four issues: a dead capacitor, a stripped gear, a misaligned travel limit, or a failed logic board. Three of those four are professional jobs. The fourth – travel limit adjustment – is something a homeowner can do with the manual in hand.
Here’s the split by task:
- Travel limit adjustment – DIY-able. The door stops too high or low, and the limit screws on the side of the opener need a quarter-turn. Safe and reversible.
- Force adjustment – borderline. Changing the force setting changes how the opener responds to resistance, which is exactly the safety reverse mechanism. Only adjust if the manual explicitly says to and you understand what the setting does.
- Capacitor replacement – professional. The capacitor is inside the housing near 120-volt wiring, and it can hold a charge after power is off.
- Gear and sprocket replacement – professional. The opener has to come down or be fully disassembled.
- Logic board replacement – professional. Small parts, tight spaces, and a chance of miswiring.
Brand matters here too. A Genie opener with a chain drive has a different internals layout than a belt-drive LiftMaster or Chamberlain with a smart-home module. Craftsman units from the 1990s and Raynor openers from the 2010s use different capacitor and gear sets. If you’re looking at a capacitor job, that’s time to call for garage door opener repair. We’ve diagnosed these systems across multiple drive types and smart integrations, and we know which failure points are brand-specific versus universal.
One more thing. If your opener is a LiftMaster or Chamberlain with MyQ connectivity, don’t assume the app is the problem when the door stops responding. Nine times out of ten the issue is mechanical or electrical, and the app is just reporting it.
The Professional-Only Repairs and Why
These repairs aren’t on the professional side because of gatekeeping. They’re on that side because the risk-to-savings ratio is upside-down. Here’s what makes each one a job for a trained technician.
Torsion springs
A torsion spring stores energy when wound. Replacing it means relieving that energy safely, swapping the spring, and re-tensioning it to the correct turns based on the door’s weight and height. The spring bar, winding bars, and the turns count are specific to the door. A door that’s re-tensioned wrong will either be too heavy to lift (putting strain on the opener) or too light (which can cause the door to rise unexpectedly). There’s no room for guesswork. When we replace a spring, we match the wire gauge and wind to the door’s actual weight, then cycle the door multiple times to verify the balance before the technician leaves.
Cables
Lift cables carry the full weight of the door through the drum on each side. They’re under constant tension. A cable that’s frayed, kinked, or improperly seated on the drum can snap, and a snapped cable turns the door into an unbalanced object that can drop. Cable replacement is a two-person job with proper tools, and the door must be secured with locking pliers or a winding bar before the cable is touched.
Track realignment
A bent track means the door is riding off its path. The door can jump the track and fall. Track realignment requires understanding how the vertical and horizontal tracks connect to the brackets and how the door weight is carried. Attempting this while the door is under spring tension is where injuries happen.
Opener motor wiring
The 120-volt circuit that feeds the opener is real electrical work. If the opener is hardwired rather than plugged into an outlet, the job involves the panel. We advise against any DIY here.
Our Silverline Garage Door Repair technicians work on these systems every week, and the difference between a repair that lasts and one that fails six months later usually comes down to the details – the spring matched to the door, the cable seated correctly on the drum, the track checked for level with a straight edge. If you’re in Richmond and looking at one of these repairs, call (833) 519-3675. Fast dispatch from 7am to 7pm, Sunday through Friday.
Common Mistakes to Avoid
- Winding a spring with the wrong bar. A screwdriver or a short piece of round stock looks like it’ll work and won’t. The winding bar needs to fit the winding cone cleanly, and it needs to be long enough to give leverage. A bar that slips under load is how hands and wrists get broken.
- Assuming the door is “just heavy” when it won’t lift. A door that’s hard to lift is almost always a sign the spring has weakened or the door is off balance. Forcing it up puts strain on the opener and the panels. That’s a spring problem, not a strength problem.
- Replacing one torsion spring instead of the pair. If one spring broke, the other has been carrying the full load and is usually near failure. Replacing only one means you’ll pay for a second service call soon. A matched pair is the standard approach, and a pair costs about twice a single spring.
- Adjusting the opener force setting to “fix” a lagging door. The force setting is the safety reverse. Raising it makes the opener push through resistance, which means it may not reverse on a person or pet. Fix the door’s balance; don’t compensate for it in the opener.
- Ignoring the safety sensors after a weatherstripping job. New weatherstripping can change how the door sits on the floor, which can obstruct the photo-eye without either sensor being moved. Test both sensors after any door-related work.
- Replacing a Clopay or Amarr panel without relieving the springs. The panel carries the door’s weight once the spring tension comes off – and once that tension releases, the door doesn’t hold itself up. The springs have to come off first, which means the job goes to a technician.
- Assuming your brand’s repair is the same as the one in the video. Wayne Dalton hinges, Genie sprockets, and Chamberlain belt-drive layouts differ enough that a video for one brand can be genuinely misleading for another. Confirm the brand before you follow any walkthrough.
When to Call a Professional
Call a professional when the door won’t lift, when a spring has broken, when a cable has snapped, when the door is off its track, when the opener trips the breaker, or when the door reverses with no obstruction. Call when you’re unsure about a repair, and call when a repair you attempted hasn’t fixed the problem. These are the moments where the risk of waiting or guessing is higher than the cost of the call. Silverline Garage Door Repair offers free estimates in Richmond. Call (833) 519-3675. We answer 24/7, and we dispatch from 7am to 7pm, Sunday through Friday. The price is quoted and agreed before any work starts, so you know what the repair costs before we touch the door. From weatherstripping to a full new installation, we can help you decide what’s worth doing yourself and what isn’t.
Frequently Asked Questions
No. A torsion spring stores significant energy when wound, and it can release that energy without warning if the winding procedure is wrong. A spring that lets go can drive a winding bar through drywall or break a wrist. Professional replacement is the safe choice, and the typical cost in Richmond ($280 to $420 for a single spring) reflects the equipment and the training required. Call (833) 519-3675 for a free estimate.
Sometimes, but it depends on the opener and the wiring. A simple plug-in replacement of an existing unit is within reach for a careful homeowner with a helper and a few hours. A hardwired opener, or one that requires a new circuit from the panel, is a professional job. The safety reverse and photo-eye sensors must be set correctly after installation, and getting them wrong is the scenario the code exists to prevent. Call (833) 519-3675 and we’ll tell you what your installation involves.
Typical Richmond cost ranges are $180 to $320 for cable replacement, $280 to $420 for a single torsion spring, $450 to $700 for a matched pair, and $150 to $280 for roller replacement. Weatherstripping and sensor work run $100 to $200 installed. The written estimate sets the final price, and the price is agreed before any work starts. Call (833) 519-3675 – estimates are free.
A like-for-like repair, such as replacing a spring or a weather seal, typically doesn’t require a permit. A full door replacement or a structural change to the opening may. Permit requirements change, so ask the Richmond building department directly before scheduling any structural work. We can tell you what we know about the scope of the repair, but the permit question belongs with the city.
Only if the scope changes, and you’ll be told before any additional work starts. When you call, we ask what the door is doing so we can quote a range based on the likely cause. If the door needs more than the quote covered, we explain why and give you the updated price before we pick up a tool. You won’t get a surprise invoice. Call (833) 519-3675 for a free estimate.
Weatherstripping, sensor cleaning, remote programming, and lock lubrication are the safe DIY tasks. Torsion springs, cables, track realignment, opener motor wiring, and panel replacement are professional jobs. If the task involves springs, cables, 120-volt wiring, or a door that has left its track, call (833) 519-3675. We answer 24/7 and can talk through the repair before you decide.
The Bottom Line
The DIY-versus-professional question isn’t about confidence. It’s about the risk-to-savings ratio, and that ratio is upside-down for springs, cables, and track work. The parts cost $15 to $80; the professional job runs $150 to $420; and the difference buys trained handling of stored energy, correct spring matching, and a door that’s been tested and balanced before anyone drives away. Weatherstripping, sensor cleaning, and opener programming are genuinely within reach, and doing those yourself is fine. Everything else is a call. Silverline Garage Door Repair knows the specific hardware and failure points of the eight major brands – LiftMaster, Chamberlain, Genie, Clopay, Amarr, Wayne Dalton, Craftsman, and Raynor – so we diagnose what your system actually needs instead of guessing. Call (833) 519-3675 for a free estimate in Richmond. We answer 24/7, fast dispatch from 7am to 7pm, and the price is set before the work begins.
Written by the team at Silverline Garage Door Repair, serving Richmond since 2012.
See the difference
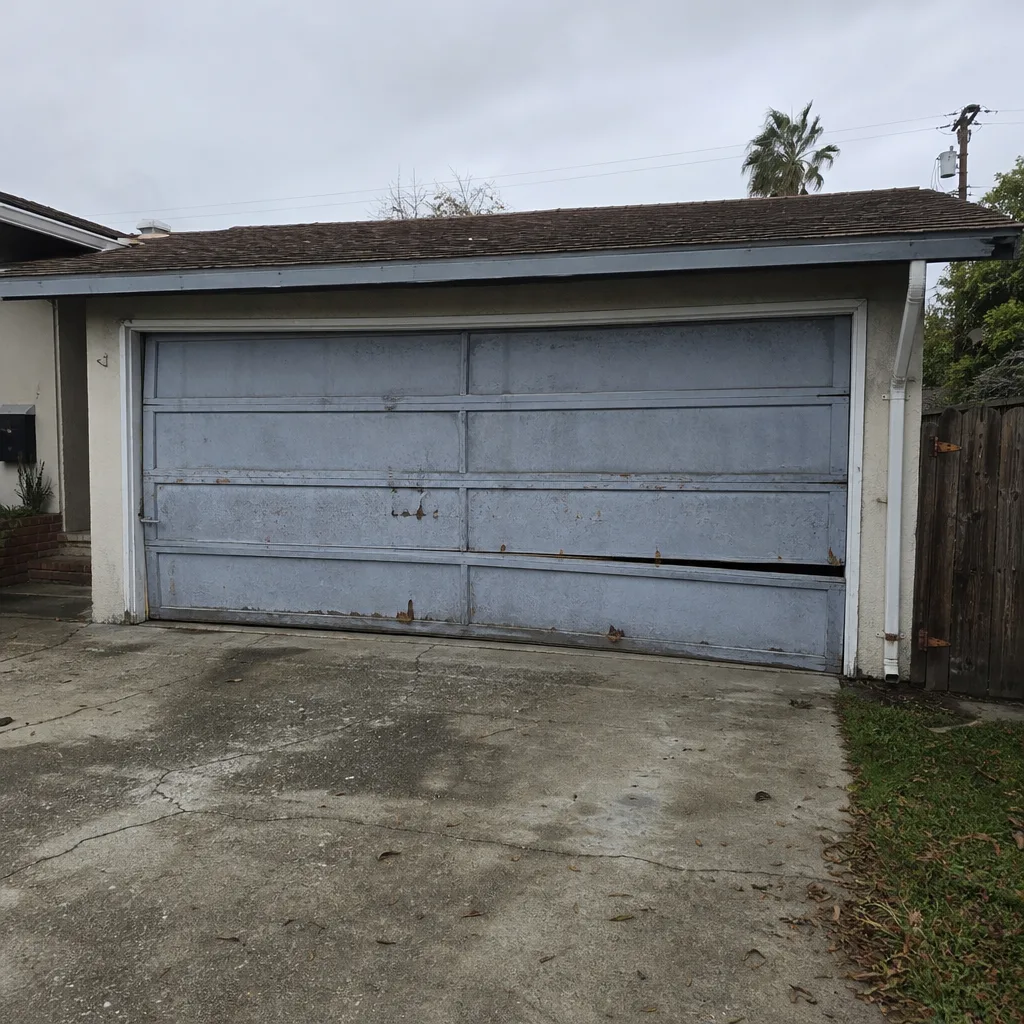 Before
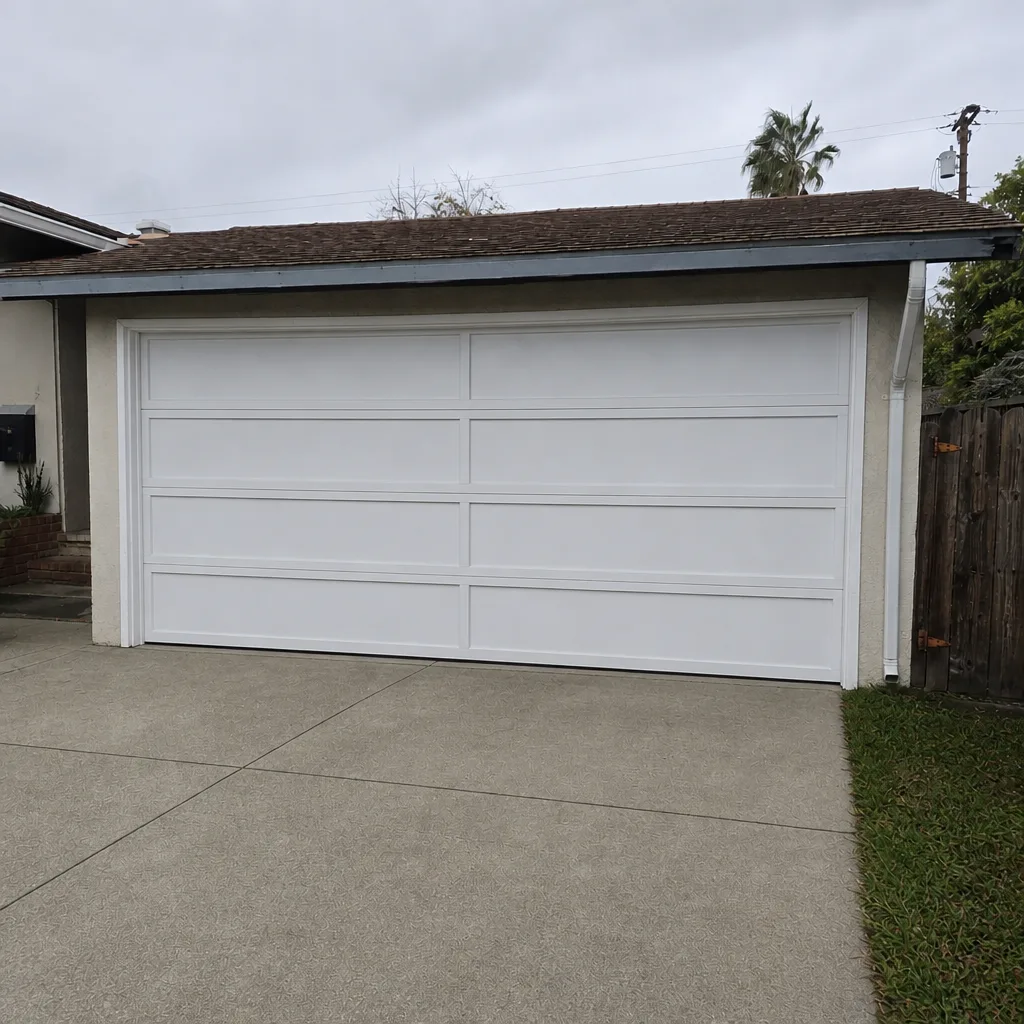 After
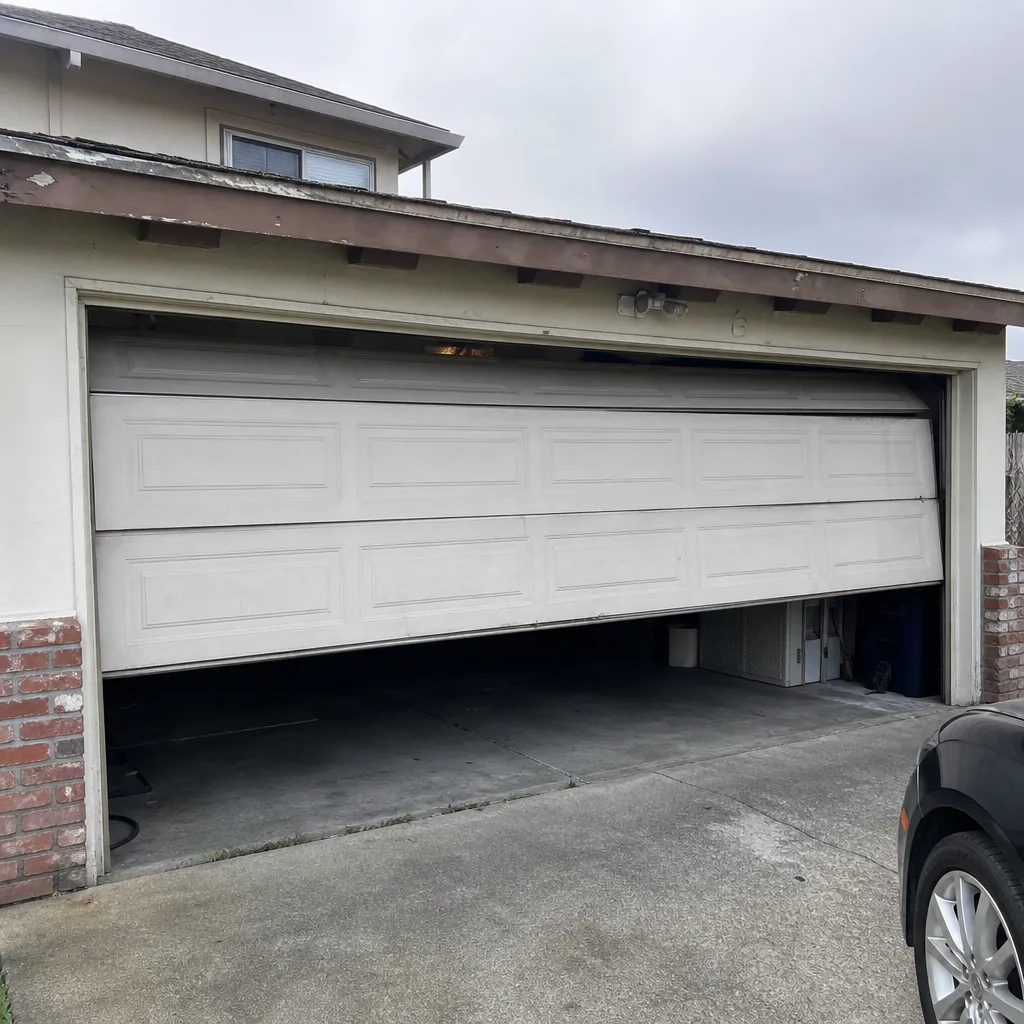 Before
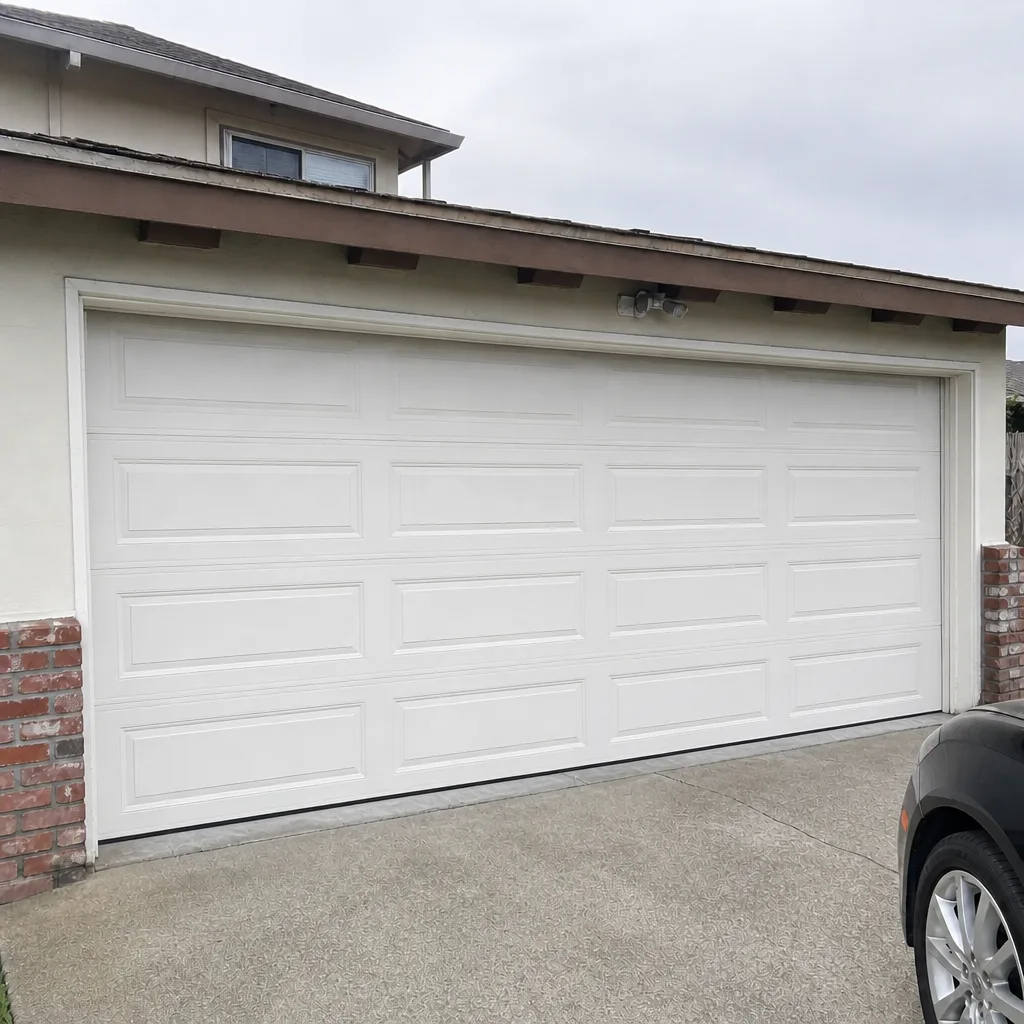 After
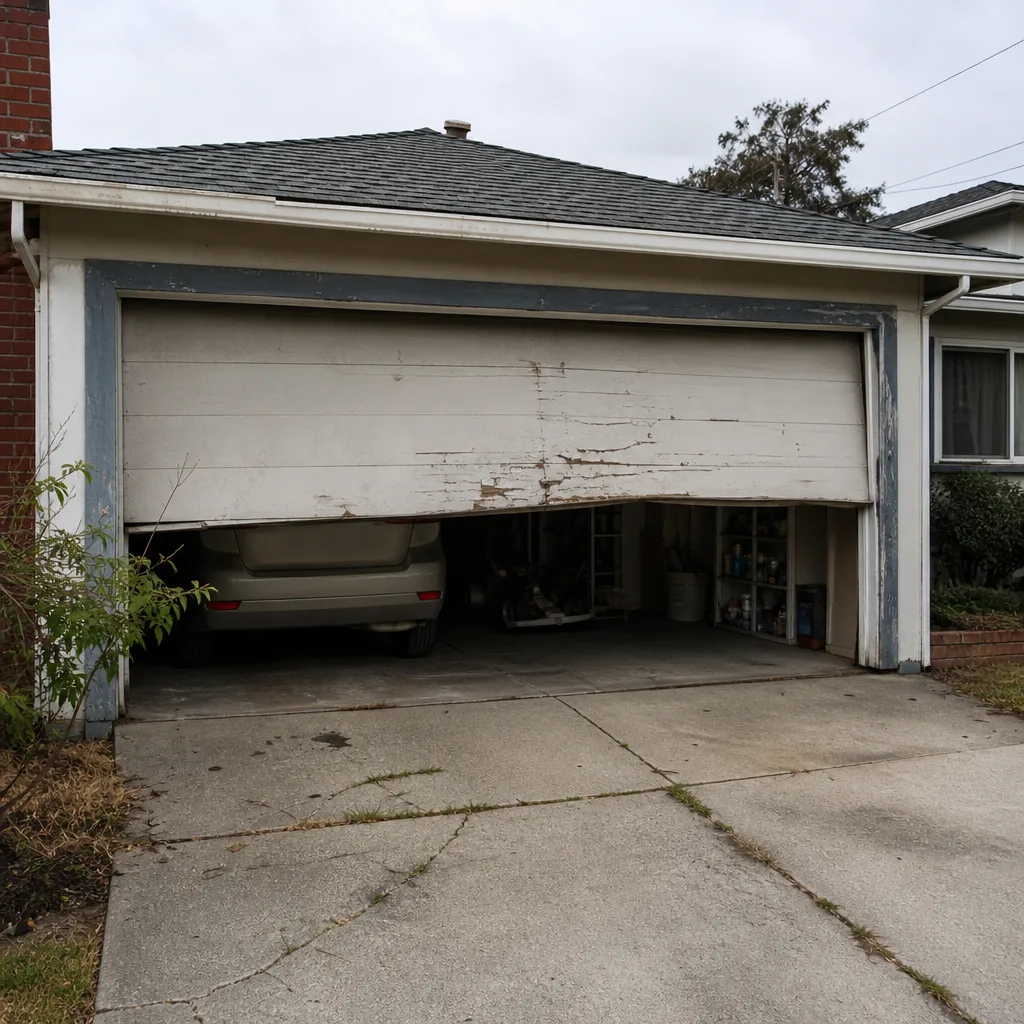 Before
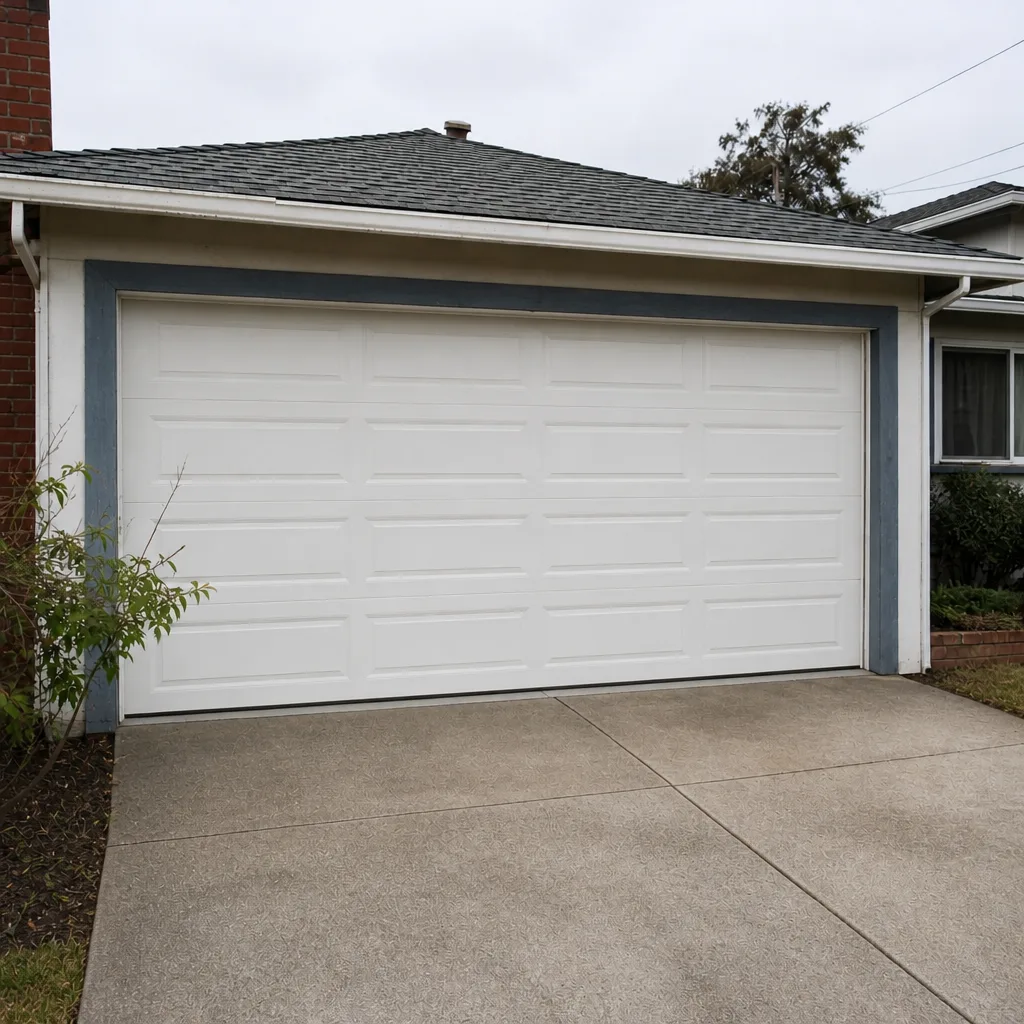 After