
Last updated November 14, 2026
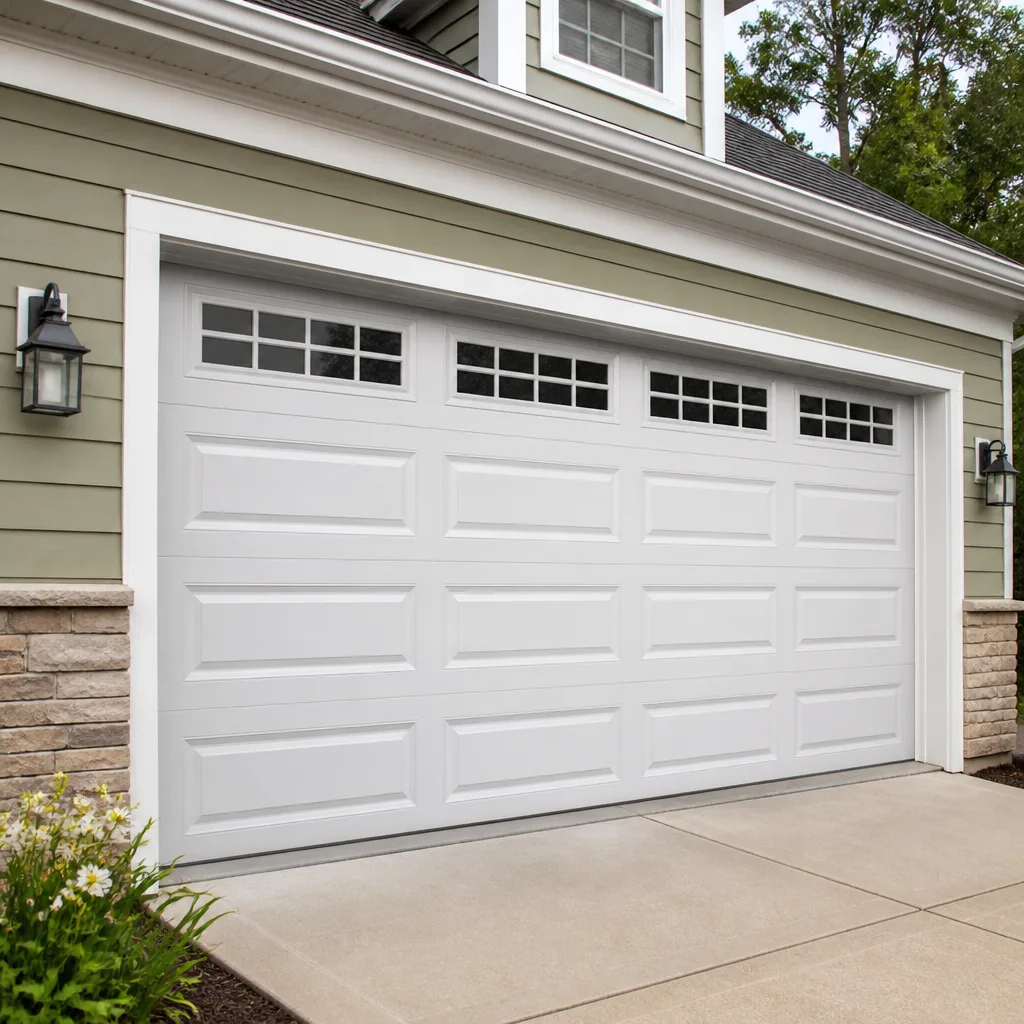 Raised-panel steel
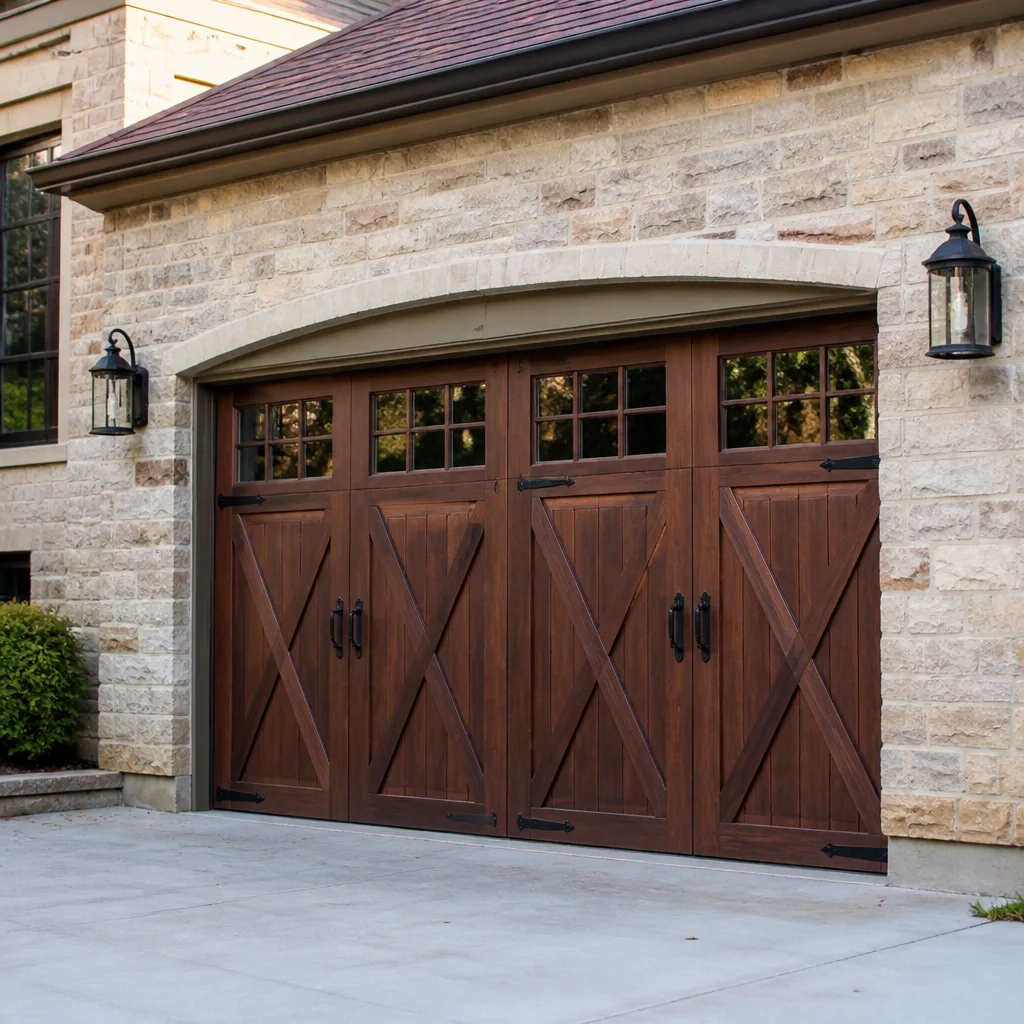 Carriage house
 Modern flush
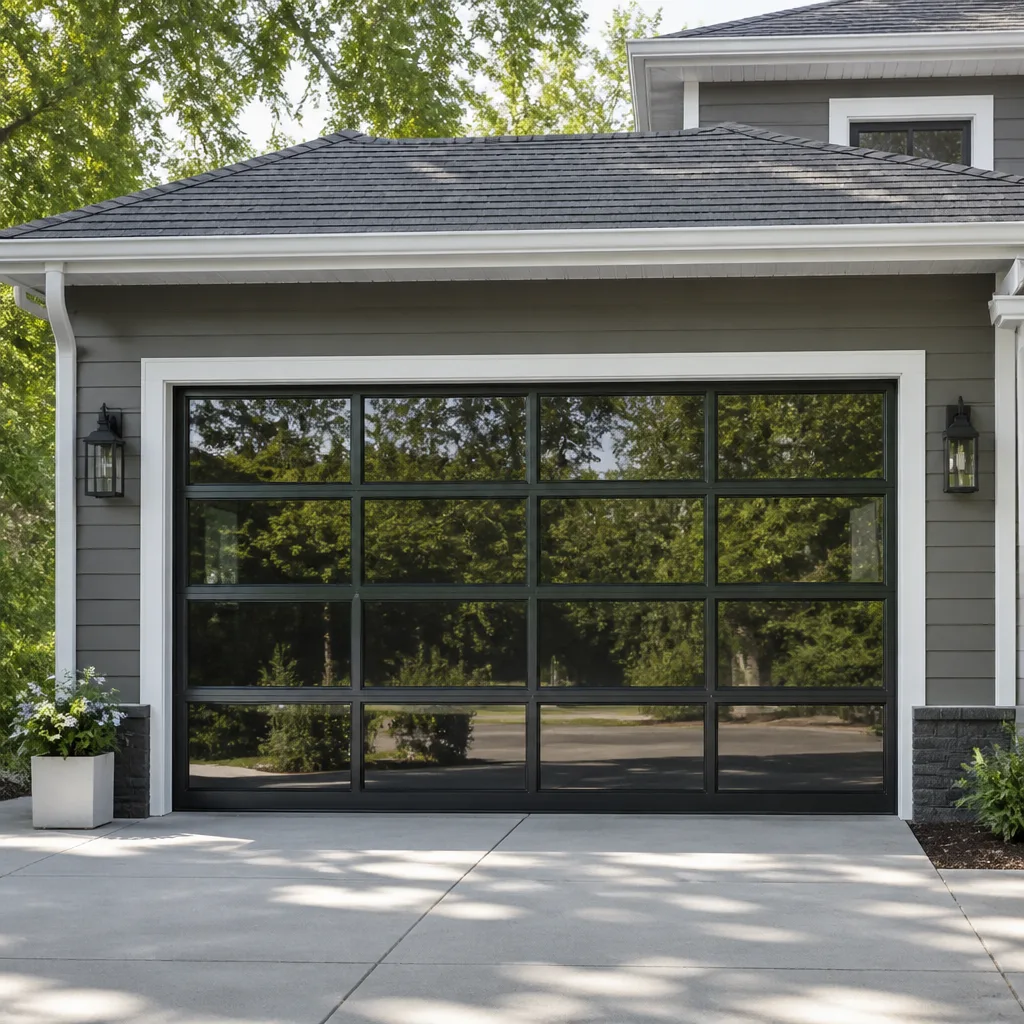 Full-view glass
 LiftMaster openers
 Chamberlain openers
Full 25-point door and opener safety check with every visit - springs, cables, rollers, tracks, and your LiftMaster or Chamberlain opener included
You get a price before we start. It does not change when the truck arrives.
Get your free estimateGarage Door Permits, Codes & Inspections in Richmond, CA: What You Need to Know
Most Richmond homeowners assume any garage door work short of a full remodel is permit-free. Often they’re right. But the line between a “like-for-like repair” and an “alteration” runs through the California Building Code at a specific place, and Contra Costa County’s overlay rules tighten it further. A spring swap or a panel replacement usually sits on the safe side. A higher-horsepower opener swap or a door size change can land on the other side. Getting that call wrong rarely causes a problem today. It tends to surface years later, during a home sale or an insurance claim, when someone else’s inspector starts asking questions. This guide walks through the threshold, the permit process through the City of Richmond, the energy code triggers, and what it all means when you list your house. If you’d rather start with the work itself, our garage door repair page covers that.
Quick Answer
In Richmond, a like-for-like garage door repair (springs, cables, rollers, hinges, same-model panel replacement) generally does not require a permit. Anything classified as an alteration under California Building Code Section 1, including a door size change, a track relocation, structural header work, or certain electrical modifications to the opener circuit, typically does. Permits are pulled through the City of Richmond’s Community Development Department, and inspections focus on structural attachment, seismic bracing on attached garages, and Title 24 energy compliance on doors separating conditioned space from the garage.
Styles & brands we work with
- Raised-panel steel
- Carriage house
- Modern flush
- Full-view glass
- LiftMaster openers
- Chamberlain openers
Table of Contents
- Repair vs. Alteration: Where the Line Actually Sits
- When an Opener Swap Crosses the Permit Line
- Title 24 and Garage Doors on Conditioned Space
- How to Pull a Permit in Richmond: Step by Step
- What Inspectors Actually Look For
- Seismic Bracing on Attached Garages in Richmond
- Unpermitted Work and the Contra Costa County Home Sale
- Common Mistakes to Avoid
Repair vs. Alteration: Where the Line Actually Sits
California Building Code Section 1 draws the boundary, and it’s narrower than most people expect. A repair restores something to its original condition using materials of the same type and size. An alteration changes the character, size, or function of the structure. The distinction matters because Richmond’s building department applies both the state code and its own municipal requirements, and a job that starts as a repair can quietly become an alteration when the scope shifts.
Here’s how the split works in practice:
- Typically a repair, no permit: replacing a torsion or extension spring, swapping cables and drums, replacing rollers, hinges, or a bent bottom bracket, replacing a single damaged panel with the identical panel model.
- Typically an alteration, permit required: changing door width or height, moving or resetting the track, modifying the header or framing to accept a larger door, converting a manual door to a motorized one where wiring must be added or modified.
- Case by case: replacing the entire door with a different model of the same size, which may fall under alteration depending on the structure, weight, and attachment requirements of the new unit.
The panel replacement example is the one that trips people up. A homeowner in the Richmond flats with a Clopay door finds a dented panel, orders the same model, and installs it. That’s a repair. A homeowner who decides to upgrade to a different panel style for a different look, adds a window row, and installs a heavier section may have crossed into alteration territory because the door’s weight distribution, spring calibration, and wind-load profile have changed. That last point matters in Richmond’s older housing stock, where garage openings aren’t always framed the way a modern door manufacturer assumes.
Our rule of thumb: if the work keeps the door the same size, same weight class, and same spring-calibrated balance, it’s a repair. If any of those three shift, call the city and ask. It’s a two-minute conversation that saves years of ambiguity.
When an Opener Swap Crosses the Permit Line
A straight replacement of a failed opener with the same unit type, wired to the same existing circuit with the same mounting, is usually a repair. What tips a motor swap into permit territory is a change to the electrical supply or the mounting structure. A higher-horsepower unit that requires a new dedicated circuit, an outlet relocation, or altered ceiling support in the garage is the classic trigger.
In our experience, the opener is where homeowners assume permits are never needed because the units are small and the swaps feel routine. That’s mostly true for a direct replacement. It stops being true the moment the electrical work changes. The motor swap itself is low-risk. The circuit is not.
Electrical work inside a garage is not something to improvise. If you’re moving from a standard chain drive to a belt drive within the same class, that’s a hardware change. If you’re stepping up to a heavier-duty system or adding a smart opener that needs new wiring, talk to the city’s building department first and let a licensed electrician handle any circuit changes. This is a duty-of-care point, not a sales one: we would rather you ask than guess.
For openers that just need repair, our garage door opener repair team handles LiftMaster, Chamberlain, Genie, and Craftsman systems daily, including the brand-specific diagnostics that separate a real fix from a guess. That work almost never involves permitting because the electrical and structural elements stay untouched.
Title 24 and Garage Doors on Conditioned Space
California Title 24 sets energy compliance requirements for the building envelope, and a garage door that separates conditioned living space from an unconditioned garage falls under those rules. In Richmond, that means the door between your house and your garage is part of the envelope, not just a piece of equipment. Replacing it may trigger Title 24 compliance depending on how the door is defined in the project scope.
The practical implications:
- A replacement door on conditioned space should meet the applicable envelope requirements for that assembly. Your permit application, if one is pulled, will ask for the door’s specifications.
- If the door is between the garage and the outside, and the garage itself is unconditioned, the envelope requirements for the interior door are not the same as for the exterior door. The distinction matters when you’re filling out forms.
- Any permit that touches the envelope will typically require you to state the door’s U-factor or equivalent performance data. Manufacturers like Amarr and Wayne Dalton publish those specs for their product lines, and your supplier should hand them to you at purchase.
The one thing we tell every Richmond homeowner considering a door replacement: get the door’s performance documentation before you buy, not after. If the door you want doesn’t have a spec sheet you can hand to the city, you’ve chosen the wrong door for a permitted job.
How to Pull a Permit in Richmond: Step by Step
If your job crosses into alteration territory, you’ll be working with the City of Richmond’s Community Development Department. The process is straightforward once you know the sequence.
- Confirm the scope. Call or visit the building department and describe the work in plain terms. “Replacing a 16×7 door with the same size” and “replacing a 16×7 door with a heavier insulated model and new springs” are different conversations, and the department will tell you which procedure applies.
- Assemble your documents. You’ll typically need a description of the work, the door’s manufacturer and model information, the performance data for the door assembly, and a drawing or diagram showing attachment and bracing if the structure is being modified.
- Submit the application. Residential garage door permits are usually straightforward, and the department can tell you the current fee schedule and expected turnaround. Ask directly rather than assuming a timeline from someone else’s experience.
- Schedule the inspection. After the work is complete, the inspection confirms attachment, bracing, and the installed door matches the permitted scope.
- Keep the closed permit in your records. This is the single most important document if you ever sell the home.
Fees and turnaround times vary by scope and by the department’s current workload, so get the current numbers from the city directly. What we can tell you from doing this work in Richmond since 2012 is that clear scope descriptions get through the process faster than vague ones. Every time.
What Inspectors Actually Look For
The inspection is not a test of your choice of door. It’s a check that the door is safely attached, correctly braced, and installed as permitted. The items that come up most:
- Track and bracket attachment. Anchors into the framing, not into drywall or a hollow pocket. This is where older Richmond garages sometimes need attention before a new door goes in.
- Spring and cable installation. Correctly sized springs for the door weight, cables routed properly, safety cables on extension spring setups. Torsion springs and their cables are under serious tension; this is the part of the job that belongs to a trained technician, not a weekend project.
- Seismic bracing where required. Covered in the next section.
- Door performance documentation. If Title 24 applies, the inspector wants to see that the installed door matches what the permit specified.
- Opener safety features. Photo-eye reversal and force sensitivity, both of which should be tested after any opener installation.
Inspectors, in our experience, are looking for the same things good technicians look for. When the installation is done right, the inspection is a formality. When it isn’t, the inspection catches what a rushed job hides.
Seismic Bracing on Attached Garages in Richmond
Richmond sits in Seismic Design Category D, and the California Building Code applies bracing requirements to new garage door installations on attached garages accordingly. What that means in practice is that the door and its supporting structure need to be engineered for lateral movement during a seismic event, not just for the door’s dead weight and normal operation.
The bracing requirement shows up in three places:
- Header attachment. The door header is anchored to the framing in a way that resists racking. Older Richmond homes, particularly in neighborhoods where garages were added or modified over time, sometimes have headers that need reinforcement before a new door goes on.
- Track and jamb bracing. The track assemblies are braced against lateral displacement, not just held in place by the standard brackets.
- Opener mounting. The opener rail and motor are mounted to a braced structure, not to unsupported ceiling joists that could shift.
This is not the part of the job to value-engineer. A door that works perfectly in normal operation can become a hazard in a seismic event if the bracing isn’t correct. When we install a new door, the bracing is part of the scope, and the written estimate spells it out. If you’re comparing quotes and one doesn’t mention seismic bracing in a Richmond attached garage, ask why.
Unpermitted Work and the Contra Costa County Home Sale
California requires sellers to disclose known material facts affecting the property, and unpermitted work on a garage door or opener that should have been permitted is a material fact. Contra Costa County’s disclosure forms and the standard transfer disclosure statement both cover it, and buyers’ inspectors look for it. A garage door opener swapped without a permit for a higher-horsepower unit can flag during inspection even when the work itself was done safely, simply because the electrical or structural scope changed.
What happens in a sale when a permitting issue surfaces:
- Buyer’s inspector flags the discrepancy. The buyer asks for documentation. If it doesn’t exist, they ask for a credit, a repair, or a retroactive permit.
- Lender review. Some lenders, particularly on FHA and VA loans, require documentation for structural work. An unpermitted installation can delay or complicate financing.
- Insurance review. Your homeowner’s policy has an accurate-description clause. An undisclosed alteration on the garage can become a coverage question during a claim, not before the sale but after, when the paperwork surfaces.
The cure is straightforward if you catch it early: pull a retroactive permit, get the work inspected, and keep the record. It’s simpler and cheaper than a stalled escrow. Every Richmond homeowner we’ve worked with who’s gone through this says the same thing afterward: they wish they’d just asked the city first.
Common Mistakes to Avoid
- Assuming “repair” covers everything. Size changes, track moves, and header work are alterations. Treating them as repairs keeps the record clean on paper and messy in reality. If the door’s dimensions shift, the permit question comes back.
- Skipping the electrical permit on an opener upgrade. A higher-horsepower unit that needs a new circuit is an electrical permit job. Doing it without one puts the work outside the permit record and creates a disclosure issue at sale.
- Buying a door without the performance documentation. If the door is on conditioned space, Title 24 may apply. Amarr and Clopay both publish the specs you’ll need; get them at purchase, not a week before inspection.
- Ignoring seismic bracing as a line item. Richmond is Seismic Design Category D. If the quote doesn’t mention bracing, the bracing may not be in the scope.
- Not keeping the closed permit. The permit document is the thing that protects you at sale, not the receipt from the installer. Keep both, and know where they are.
- Assuming the city works the same for every garage. Richmond’s housing stock runs from older single-story homes to newer construction, and the bracing and framing requirements can vary by structure. Ask about your specific garage, not garages in general.
- Calling the city after the work is done. If the job did need a permit, calling after completion means a retroactive process that costs more and takes longer. Ten minutes on the phone before the work starts is worth more than an hour of paperwork after.
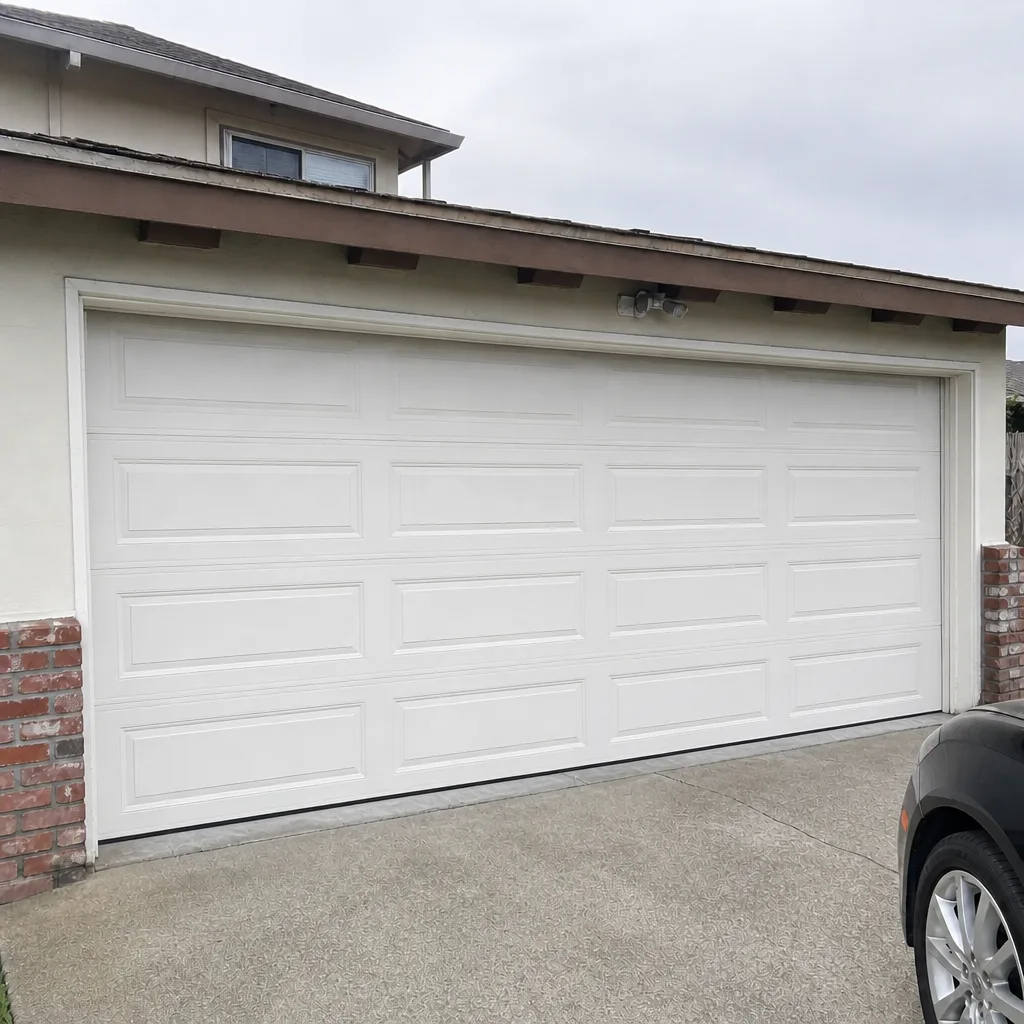
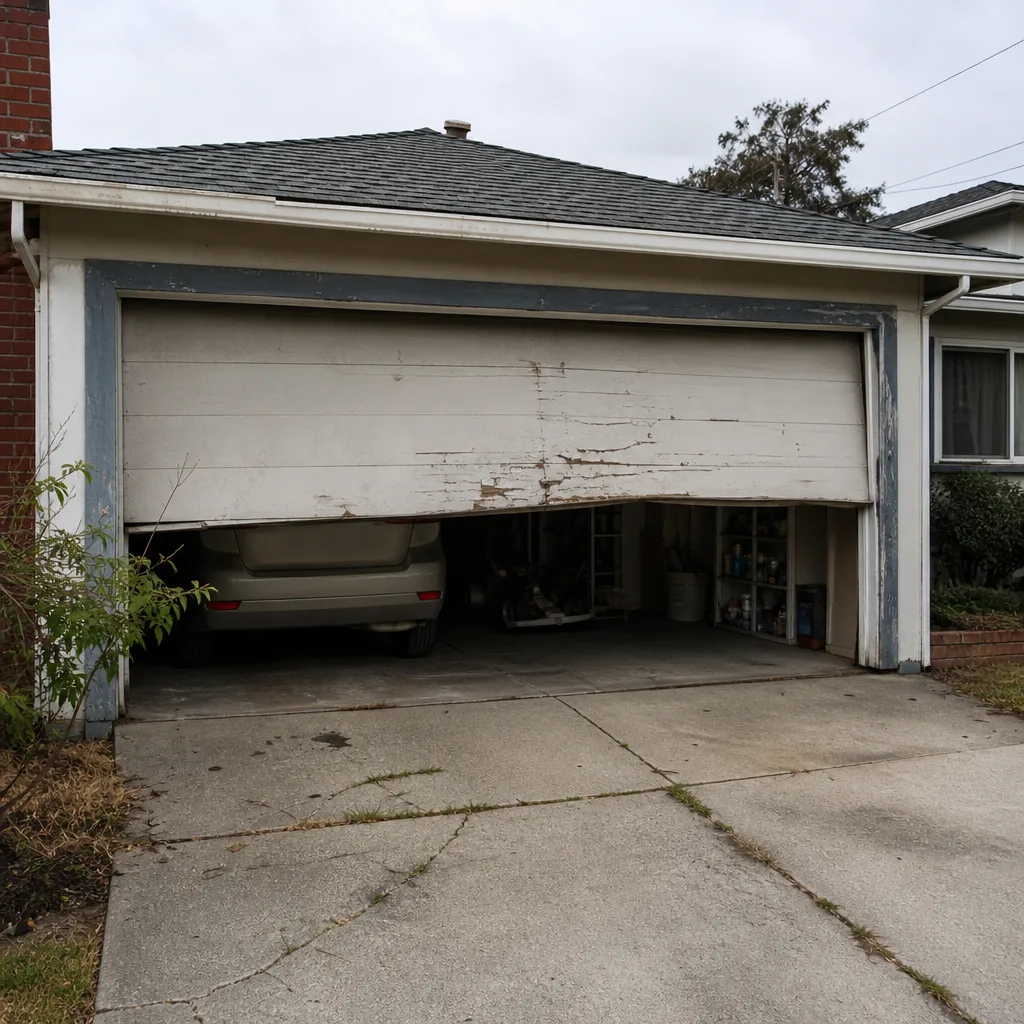
See the difference
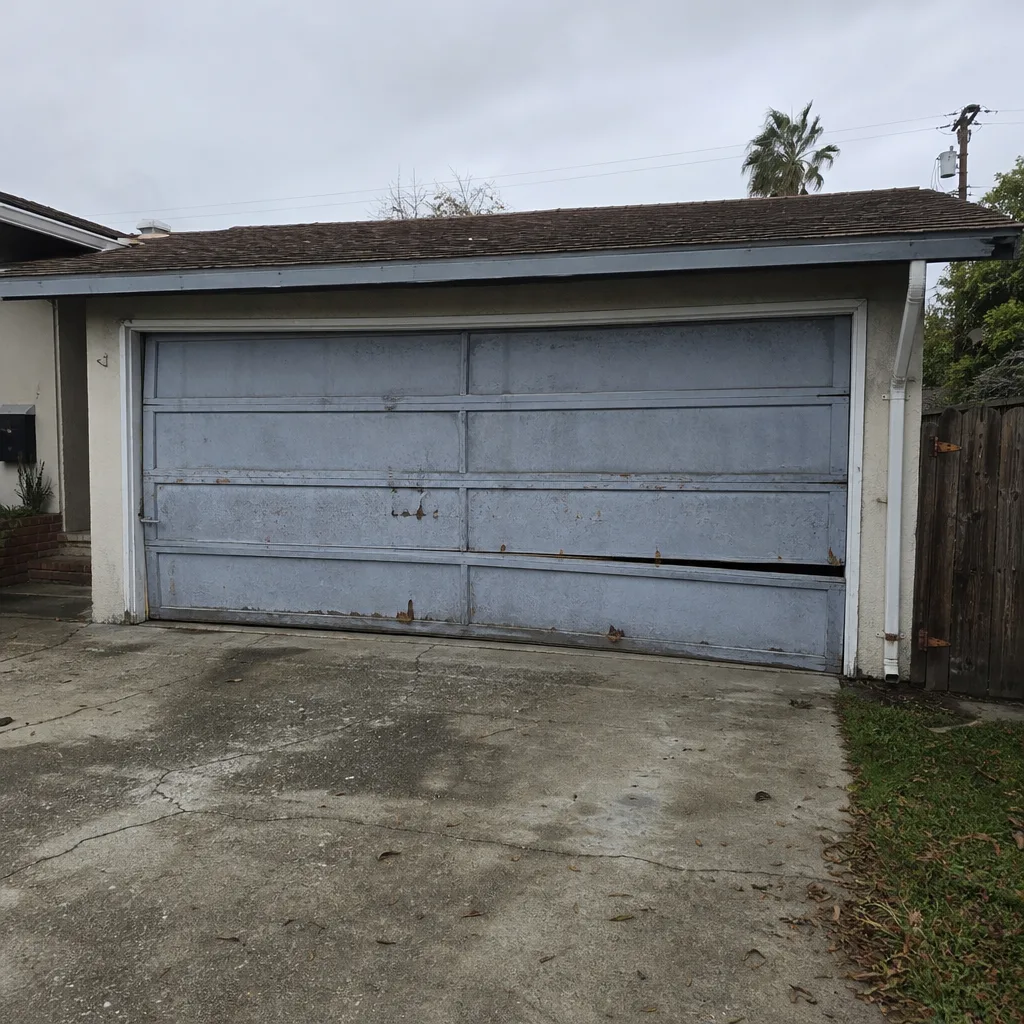 Before
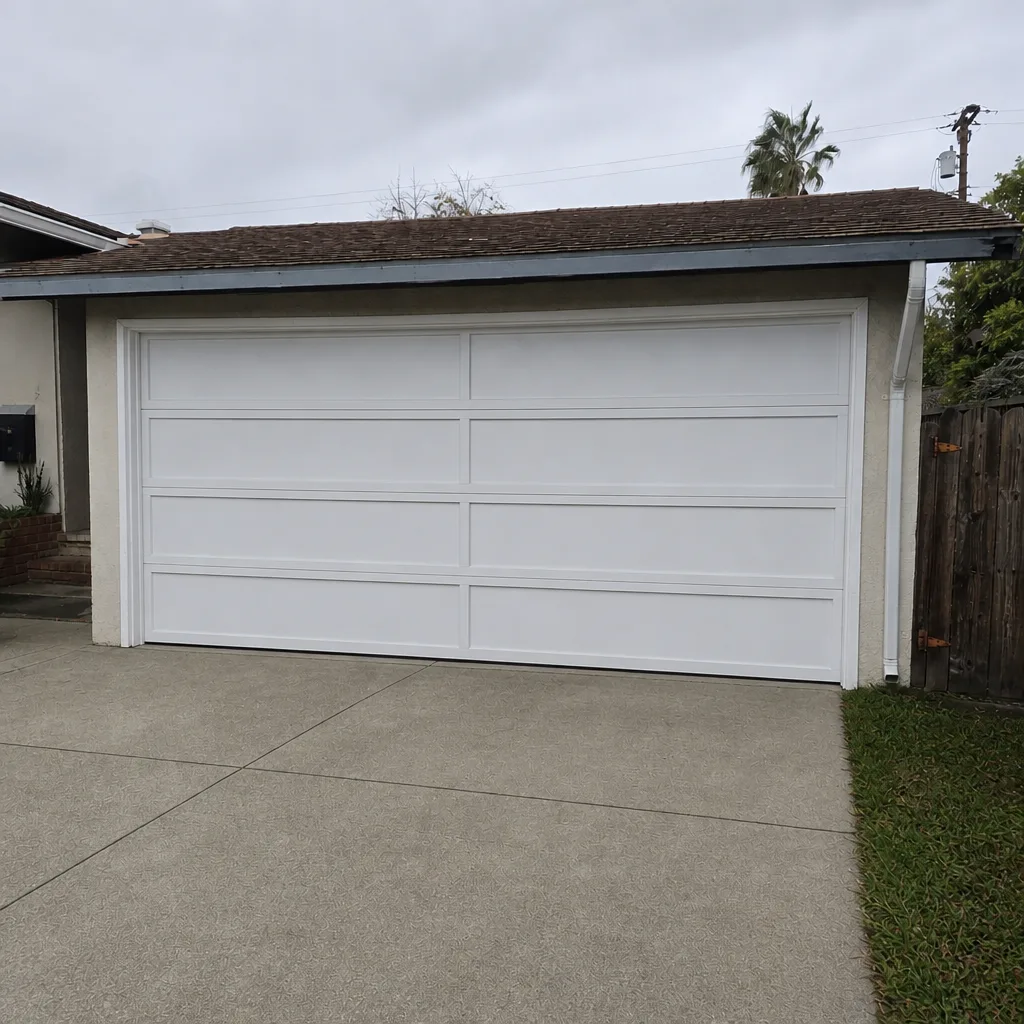 After
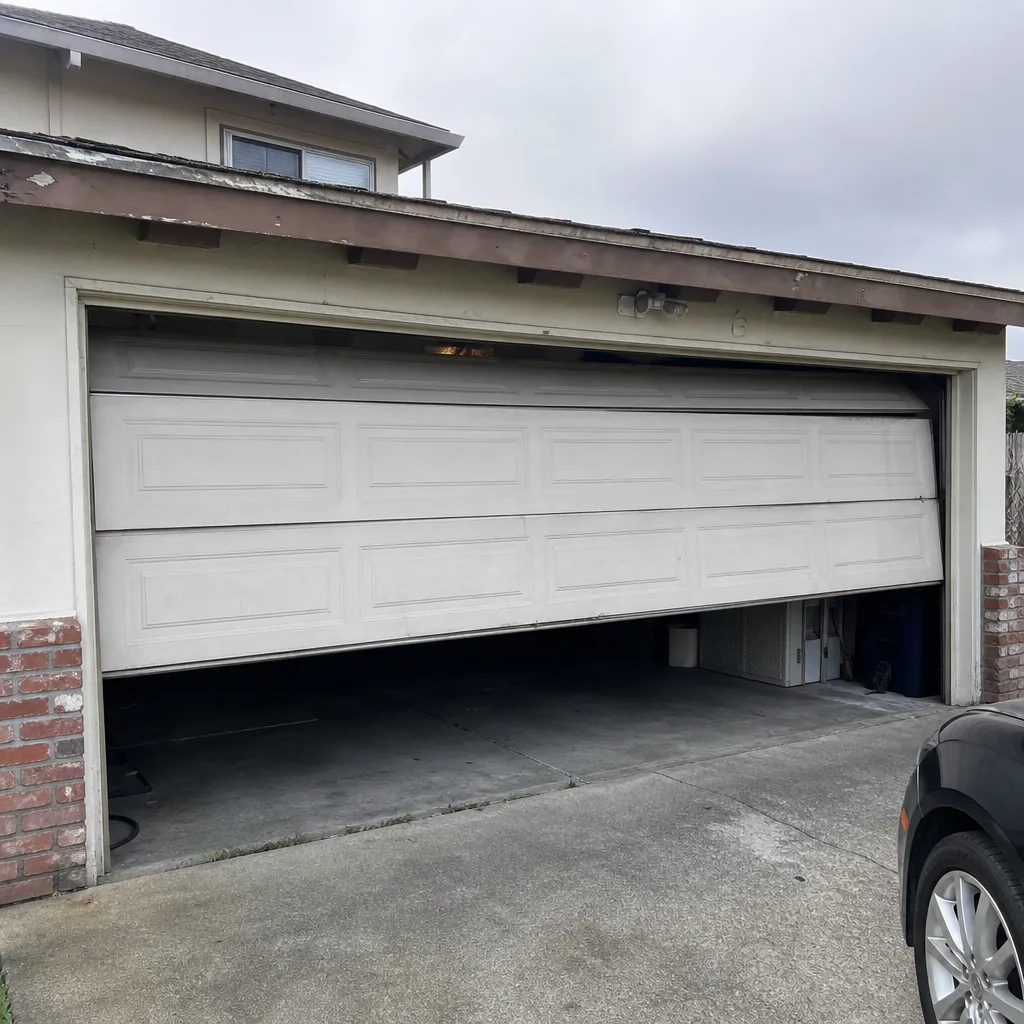 Before
 After
 Before
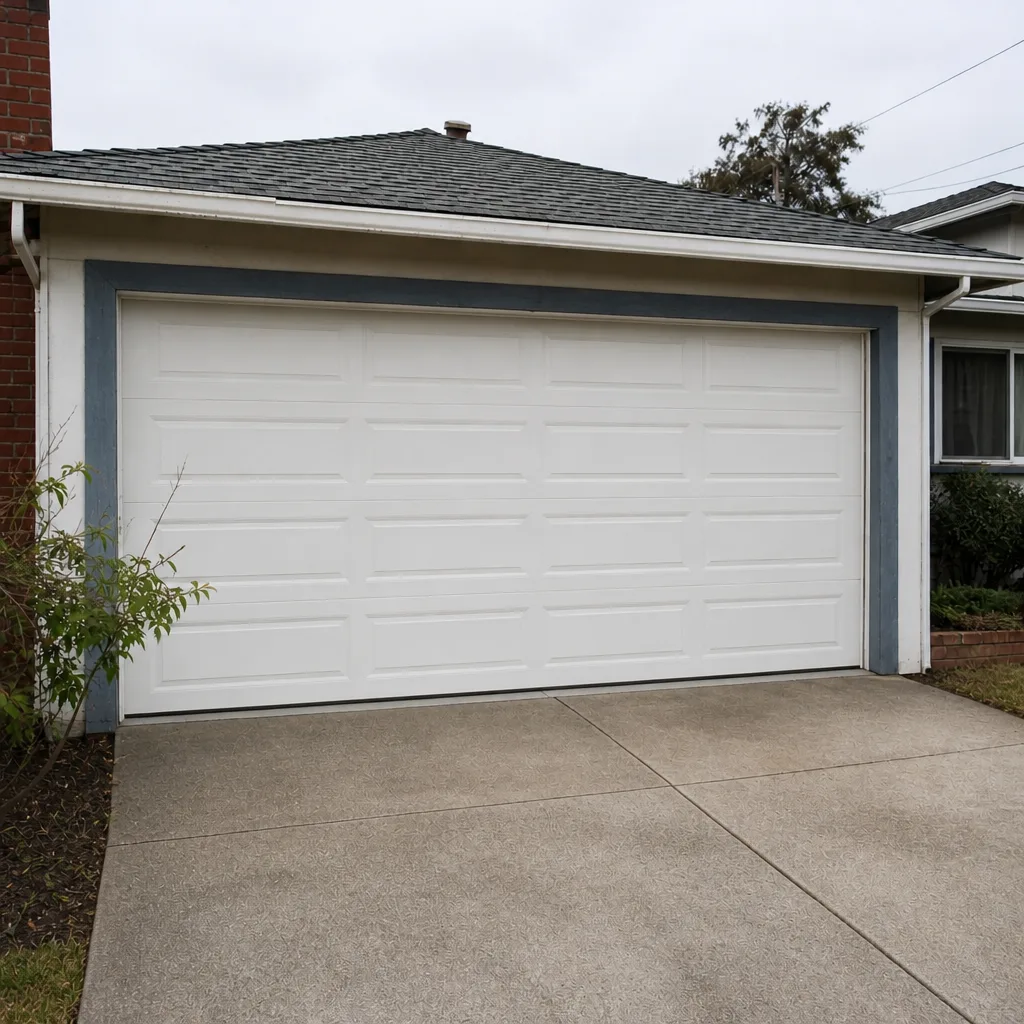 After
When to Call a Professional
Some garage door problems are easy to spot and safe to leave alone. Others are not. Call us when a spring breaks (torsion springs and their cables are under serious tension and belong to trained technicians), when a door has come off its track, when an opener is failing intermittently in a way that makes you unsure whether the motor, the wiring, or the door balance is at fault, or when you’re planning a replacement and want to know whether the job will need a permit before you commit to a door. We also handle the permit-compliant installation side, including the seismic bracing and Title 24 documentation that come up in Richmond attached garages. Silverline Garage Door Repair offers free estimates in Richmond. Call (833) 519-3675. We answer 24/7. Fast dispatch from 7am to 7pm, Sunday through Friday.
Frequently Asked Questions
It depends on whether the replacement is like-for-like or an alteration. A same-size, same-weight-class replacement of a damaged door is usually treated as a repair and doesn’t require a permit, while a different size, different model with altered weight and spring requirements, or a door that requires header or track modification typically does. Call the City of Richmond’s Community Development Department with your specific door model and size before ordering, and the answer will be clear rather than a guess. Call (833) 519-3675 for a free estimate on the work itself.
Usually not, as long as the new opener is a direct replacement mounted and wired to the same existing circuit. It typically does require a permit when the new unit needs a new dedicated circuit, a moved outlet, or altered ceiling support, because the electrical or structural scope has changed. If you’re unsure which category your swap falls into, ask the city. Call (833) 519-3675 if the opener needs repair rather than replacement; estimates are free.
Title 24 applies when the garage door separates conditioned living space from an unconditioned garage, because the door is part of the building envelope. In that case, the replacement door needs to meet the applicable performance requirements for the assembly, and any permit application will ask for the door’s specifications. Get the manufacturer’s performance documentation at purchase. If the door you’ve chosen doesn’t have a spec sheet, choose a different door. Call (833) 519-3675 to discuss an energy-compliant replacement.
California requires you to disclose known material facts about the property, and unpermitted work that should have been permitted is a material fact. Expect the buyer’s inspector to flag it and the buyer to ask for documentation, a credit, or a retroactive permit. Some lenders also require documentation for structural work, which can delay financing. The cure is to pull a retroactive permit before listing, get the work inspected, and keep the closed permit in your records. Call (833) 519-3675 if you need the work brought into compliance.
Yes, for new installations on attached garages, because Richmond sits in Seismic Design Category D. The bracing requirement typically covers the door header attachment, the track and jamb assemblies, and the way the opener is mounted to the ceiling structure. Older Richmond garages sometimes need reinforcement before a new door goes on, and that evaluation should happen during the measure, not after the door arrives. Call (833) 519-3675 for a free estimate that includes seismic bracing in the scope.
No, the price we quote in the written estimate is the price you pay for that scope. If we open the wall and find something the measure didn’t reveal, we tell you before doing the additional work and get your approval first. We never start a job and hand you a different number afterward. Call (833) 519-3675 for a free estimate.
The Bottom Line
The permit question for garage doors in Richmond comes down to one test: is the work restoring the door, or changing it? Springs, cables, rollers, and same-model panel swaps are repairs. Size changes, track moves, header work, and circuit changes are alterations. When in doubt, call the City of Richmond’s Community Development Department with your door’s make, model, and size before the work starts. Title 24 applies to doors on conditioned space, seismic bracing applies to new installations on attached garages in Richmond’s Seismic Design Category D, and the closed permit document is what protects you at sale. Do it once, do it documented, and the rest of the job is just the job. For the work itself, from a broken spring to a full new installation, one call covers it.
Ready to get started? Call (833) 519-3675 for a free estimate. We answer 24/7. Fast dispatch from 7am to 7pm, Sunday through Friday. We’re Silverline Garage Door Repair, and we’ve served Richmond since 2012 with brand-specific work on LiftMaster, Chamberlain, Genie, Clopay, Amarr, Wayne Dalton, Craftsman, and Raynor systems.
Written by the team at Silverline Garage Door Repair, serving Richmond since 2012.