
Last updated November 14, 2026
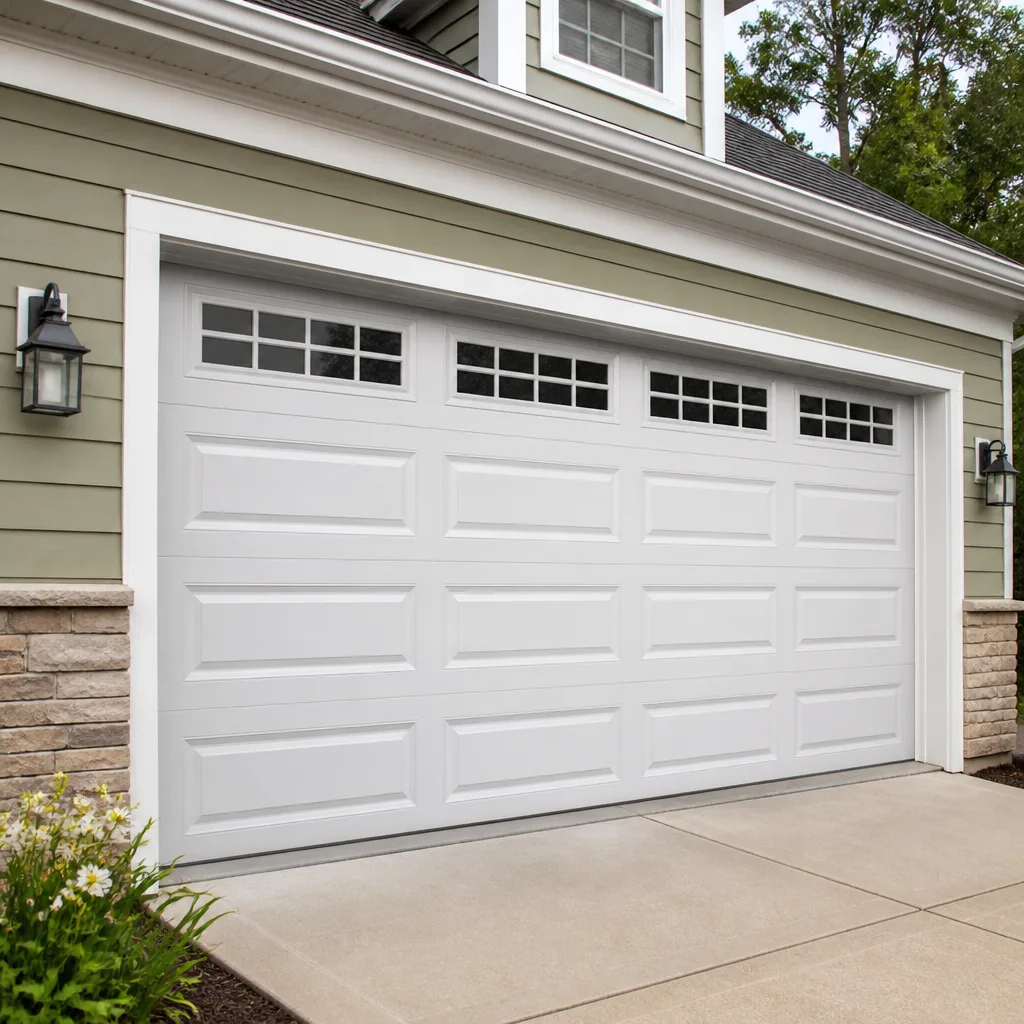 Raised-panel steel
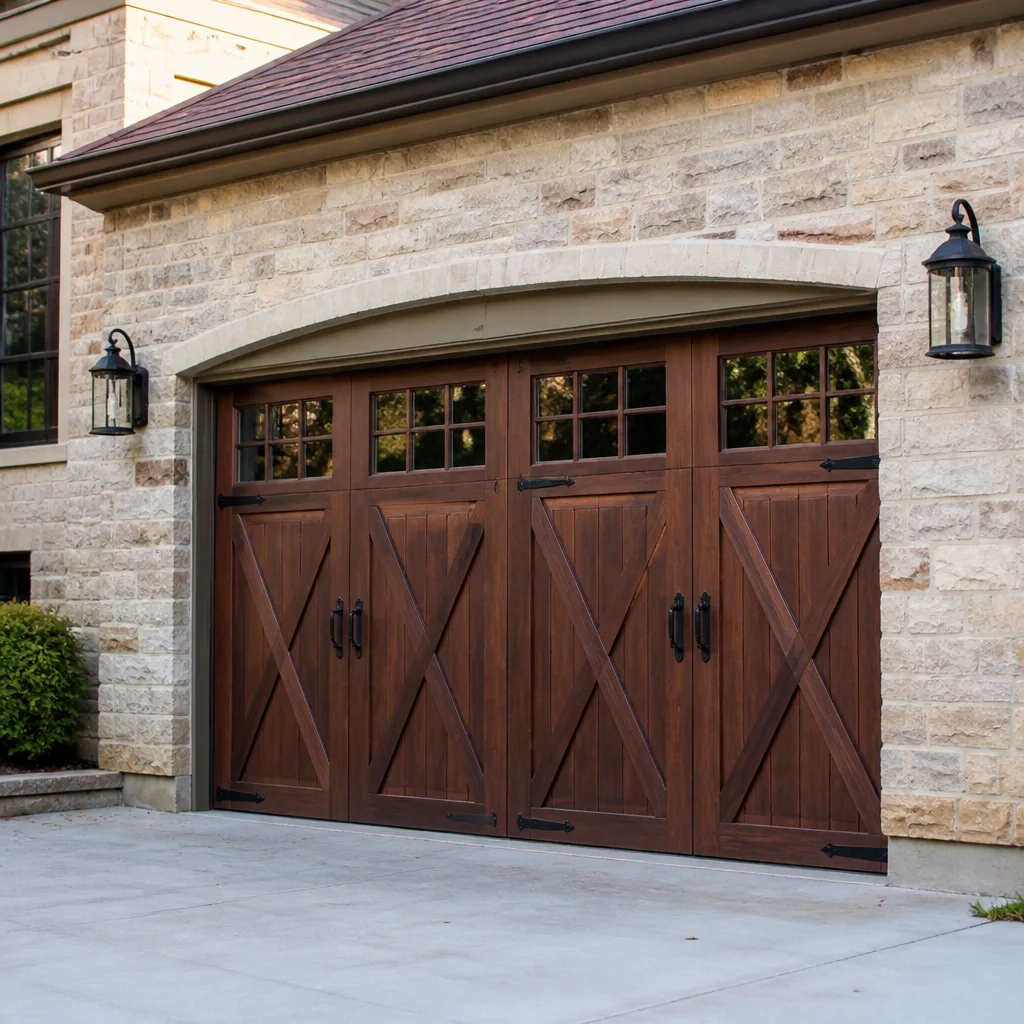 Carriage house
 Modern flush
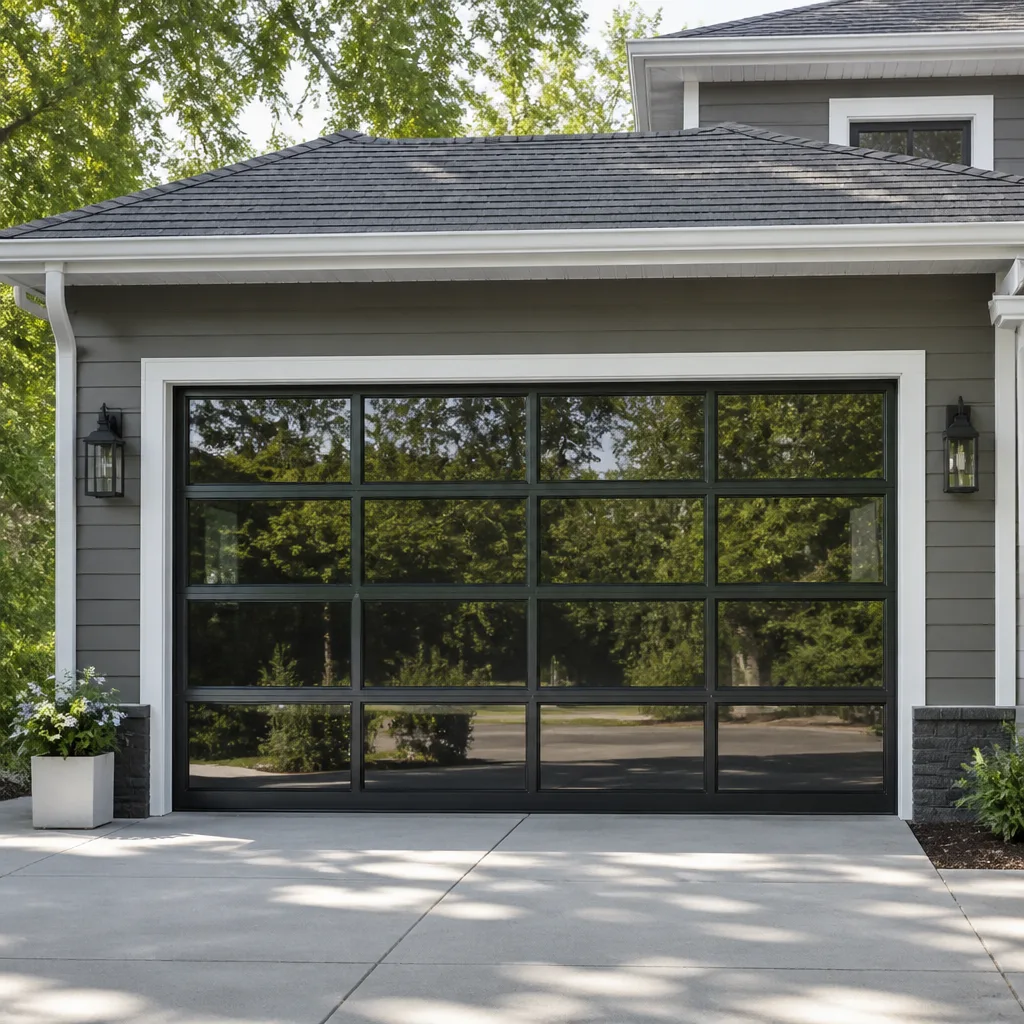 Full-view glass
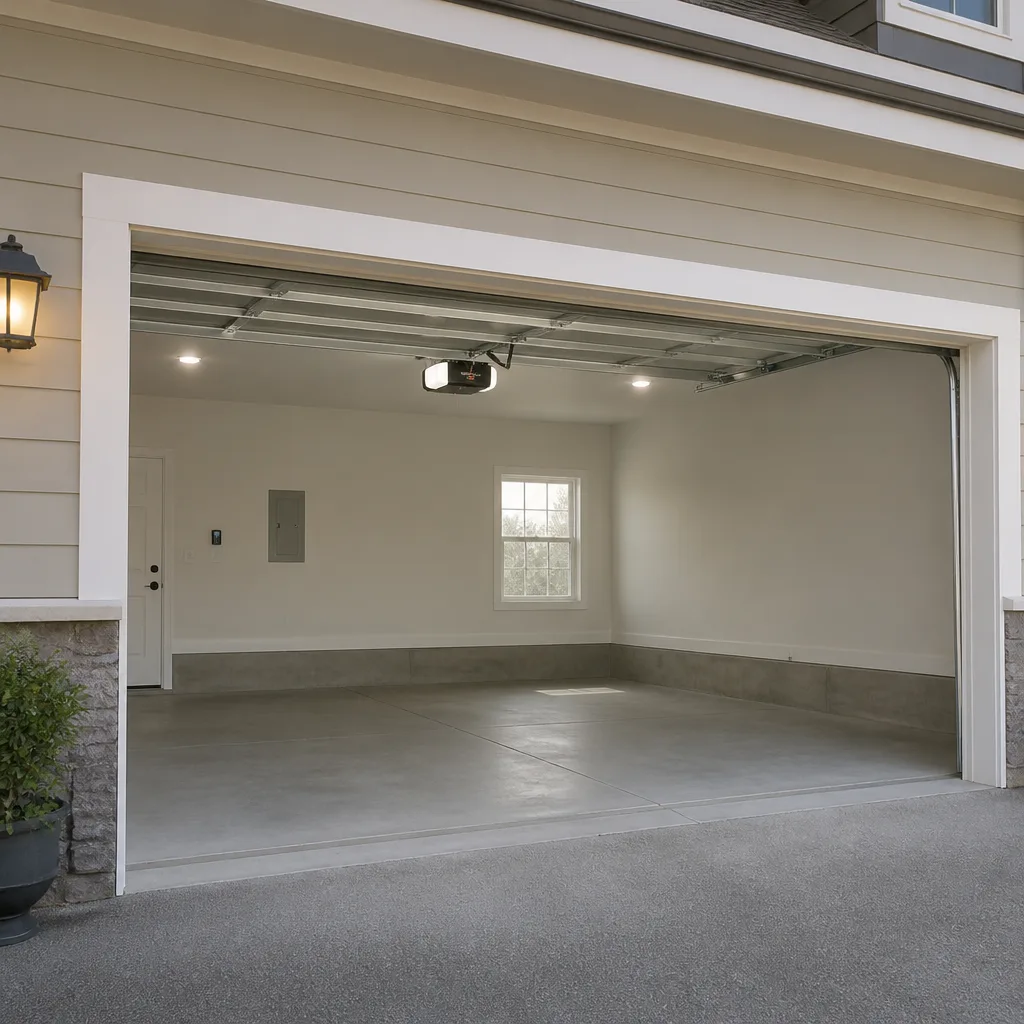 LiftMaster openers
 Chamberlain openers
Full 25-point door and opener safety check with every visit - springs, cables, rollers, tracks, and your LiftMaster or Chamberlain opener included
You get a price before we start. It does not change when the truck arrives.
Get your free estimateGarage Door Repair Maintenance Checklist for Richmond Homeowners
White lithium grease is what most garage door tutorials tell you to spray on everything that moves. On a door with nylon rollers, that advice backfires. In Richmond’s cool, damp air, white lithium turns tacky, collects grit, and can leave nylon rollers running rough and noisy within a few months. The wrong lubricant on the right schedule is still a maintenance failure. The useful checklist isn’t “oil the moving parts twice a year,” it’s knowing which product belongs on which component and how Richmond’s weather changes the intervals. This guide walks through a component-by-component checklist, the intervals that actually make sense here, and a simple decision framework for what to handle now, what to monitor, and what to book a technician for.
Quick Answer
A solid garage door maintenance checklist in Richmond covers lubrication (silicone or lithium spray on metal, never on nylon rollers), a six-month visual inspection of torsion springs because of the area’s damp air, monthly balance and force-limit tests, and a bottom-seal gap check before winter storms. Most of it takes 15 minutes. Anything involving springs, cables, or the opener’s internal gearing should go to a trained technician.
Styles & brands we work with
- Raised-panel steel
- Carriage house
- Modern flush
- Full-view glass
- LiftMaster openers
- Chamberlain openers
Table of Contents
- Why Richmond Doors Need a Different Checklist
- Which Lubricant Goes Where (Component by Component)
- The Six-Month Spring Inspection Richmond Actually Needs
- Opener-Specific Checks: LiftMaster, Chamberlain, and Genie
- Testing Bottom Seal Integrity Before Winter Rain
- Balance, Force-Limit, and Safety-Reverse Tests: The Monthly Three
- Now vs. Monitor vs. Schedule Service
- Seasonal Snapshot for Richmond Households
Why Richmond Doors Need a Different Checklist
Richmond’s climate is mild, but it isn’t dry. That combination is harder on a garage door than either extreme. Springs, hinges, and metal hardware live in a low-swing environment where overnight condensation and winter rain keep steel in that awkward in-between state: not wet enough to rust fast, damp enough to rust slowly. Condensation settles on any bare or thinly plated metal the moment temperatures drop, and by breakfast it’s evaporating – leaving behind mineral residue and traces of corrosion that build up season by season.
The practical result: metal hardware in Richmond tends to show surface rust and stiffness before it shows outright failure. That’s good news if you inspect. It’s bad news if you don’t, because a stiff hinge or a dry bearing starts working against the opener and the springs, which takes life off the parts that cost real money to replace.
The other local factor is use. In many Richmond households, the garage is the main entrance, so the door cycles several times a day – morning, midday, and evening. Add a second driver and it’s easy to hit eight to ten cycles daily. Maintenance intervals pegged to “average use” undercount that. A door cycling ten times a day is doing nearly double the wear of one cycling five, and the springs feel it first.
Older housing stock in the city adds another wrinkle: many doors and openers were installed decades apart, so a modern Chamberlain or LiftMaster unit often sits on a door with hardware designed for a slower, quieter era. Matching service to what’s actually there – not what the manual for the opener assumes – is the whole point of this checklist. That mindset is how we think about every garage door repair call in Richmond: diagnose the system as it is, not as the brochure says it should be.
Which Lubricant Goes Where (Component by Component)
Start here, because getting this wrong makes every other checklist item less effective. The rule of thumb: silicone or lithium-based lubricant on metal-to-metal contact points, dry silicone spray on tracks, and absolutely nothing on nylon rollers. Spraying white lithium on nylon rollers is the single most common mistake we see, and it’s the one that shows up months later as grinding, sticking rollers.
Rollers
Nylon rollers get checked, not greased. A dry silicone spray on the roller’s metal stem is fine, but the nylon wheels stay clean and dry. If the rollers are steel, a light spray of lubricant on the bearing area is appropriate – but if you’re not sure what kind you have, look first. And if the nylon is cracked, flat-spotted, or squeaking loudly after a clean, it’s replacement territory, not lubrication.
Springs
A light spray of lubricant along a torsion spring reduces coil friction and helps quiet a door. It doesn’t extend spring life much and it can’t fix a fatigued spring. Never try to disassemble or adjust a spring to lubricate it. High-tension springs under load can cause serious injury, and any spring work – including a visual-only inspection with a flashlight – should stay observation-only for a homeowner. If a spring looks rusty, stretched, or has visible gaps between coils that weren’t there before, book a technician.
Hinges and Bearing Plates
These are the workhorses. A few drops of lubricant at each hinge pivot and each bearing plate every six months keeps the door articulating smoothly. On a Richmond door used as the daily entrance, every three months is defensible. This one is genuinely DIY.
Tracks
Tracks don’t get oiled. They get wiped. A dry silicone spray or a clean cloth with a light solvent removes grit and grime; oil attracts dust and turns the track into a sandpaper strip that wears rollers faster. This is where most people overdo it.
Opener Rail and Chain
If your opener uses a chain drive, a light application of chain lubricant is fine. Belt-drive openers don’t need this. Screw-drive units need a different product – the manufacturer’s spec – and if you’re unsure which drive type you have, that’s a five-second look at the rail or a quick call to the manufacturer’s literature. We’ve seen all three types enough to spot the difference quickly, but a homeowner shouldn’t guess.
- Silicone or lithium spray: hinges, bearing plates, chain drive, metal roller stems
- Dry silicone spray: tracks (sparingly, then wipe)
- Nothing: nylon rollers, belts, torsion springs beyond a light surface spray
- Manufacturer spec only: screw-drive openers, smart opener gearing
The Six-Month Spring Inspection Richmond Actually Needs
Most garage door manufacturers recommend an annual spring inspection. In our experience across Richmond’s neighborhoods, that’s not often enough. The reason is the area’s particular combination of cool overnight air and humidity from Pacific winter storms: bare-steel or poorly plated springs in that environment rust, and rust concentrates fatigue. A spring inspected once a year can go from “fine” to “visibly stretched” between visits.
What to Look For Every Six Months
- Coil gaps: A healthy torsion spring wound tight should show no significant space between coils. Visible gaps suggest the spring has stretched or lost tension.
- Rust color: Light surface oxidation is normal. Orange-brown patina, pitting, or flaking calls for a technician’s eyes.
- Lift force: Disconnect the opener (pull the red manual release) and lift the door halfway by hand. It should hold that position with minimal effort from you. If it slams down or needs strong pressure to lift, the spring is telling you something.
- Noise: A sharp bang at the end of a cycle, or a creaking that builds over the week, is a warning sign, not normal operation.
- Number of cycles: If you’re a two-driver household, or the garage is the main entrance, your door does real work. Shorter intervals – every six months – pay for themselves in avoiding a spring failure during a busy week.
The visual inspection is safe and takes a couple of minutes. Adjusting, winding, or unwinding a torsion spring is not – those are high-tension parts and touch them and you can be badly hurt. If any of the above raises a flag, that’s the moment to stop and call.
Opener-Specific Checks: LiftMaster, Chamberlain, and Genie
Openers are where brand matters most. A generic check is useful, but a LiftMaster, a Chamberlain, and a Genie each have failure points the others don’t. Here’s what to look at on the brands we see most often in Richmond and around Contra Costa County.
LiftMaster and Chamberlain
These two are cousins under the hood – Chamberlain makes LiftMaster – so much of the maintenance is shared. Both run smart-home features on recent models, which means firmware and force-limit settings need periodic attention:
- Force limits: Check that the opener reverses properly when it meets resistance (see the safety-reverse test below). Force-limit settings drift; a well-meaning adjustment made months ago can now be too high.
- Firmware and myQ: Smart-connected LiftMaster and Chamberlain openers on myQ push firmware updates over Wi-Fi. Interrupted updates and pairings that stop responding are common; a check on the app and on the opener’s status light will tell you if it’s synced.
- Travel limits: The door should land flat on the floor with a solid, even contact. A door that stops slightly high or drives hard into the floor means the up/down travel limits need recalibration.
- Battery backup: Recent models carry onboard batteries. Check the charge indicator every three months, and know that a weak battery makes the opener work harder during normal cycles.
Genie
Genie openers – including popular belt-drive models common on newer Richmond builds – have their own quirks. The force and travel adjustments are set with knobs or via the control panel, and they can wander with temperature swings. Belt tension is worth a visual check; a belt that’s visibly sagging or fraying needs attention before it snaps. If your Genie unit has a smart connection, the same firmware advice applies: keep it paired and updated.
All Brands
Wrap up the opener checklist with the three easy ones: the wall button works reliably, the remote holds its battery (replace every 12 months as a habit), and the safety sensors are aligned. If a fault appears on more than one of these at once, that’s not a parts problem – that’s the opener itself, and it’s worth a proper garage door opener repair visit rather than a generalist’s guess. Opener repair is a specialty, and it’s one we treat as core, not as a side service.
Testing Bottom Seal Integrity Before Winter Rain
The bottom seal is the most-skipped item on most homeowners’ checklists, and in Richmond it matters. Winter Pacific storms don’t just bring steady rain; they bring wind-driven rain, and a tired seal lets water track into the garage, where it sits under stored items and against the door’s metal bottom section. Over a couple of seasons that’s how a perfectly good door starts rusting from the bottom up.
The Gap Check
- Close the door fully.
- From inside the garage, kneel down and look at the seal where it meets the floor. There should be clean, even contact across the full width.
- Slide a piece of paper under the seal at several points. If it slides through easily at any point, that’s a gap.
- Inspect the seal’s rubber: cracking, hardening, or a torn section is a replacement job, not a repair.
- Check the corners and the sides where the seal meets the door’s vertical surfaces – that’s where wind-driven water finds its way in.
- Look for wet stains or mineral tide lines on the door’s bottom section or the garage floor, both signs the seal has been letting water through.
A new bottom seal is a straightforward, inexpensive part and worth replacing before the rainy season rather than during it. If the door itself shows rust or pitting along the bottom panel from past water intrusion, that’s a bigger conversation about whether to repair or consider a new door. The best time to have it is when you’re looking at options, not when the door has fully failed.
Balance, Force-Limit, and Safety-Reverse Tests: The Monthly Three
These three tests take under five minutes combined and catch the majority of the issues that show up as “my door just stopped working.” They’re the first line of defense against premature wear and the best safety check a homeowner can do.
1. The Balance Test
Pull the manual release to disconnect the opener. Lift the door halfway and let go. It should stay in position with minimal help. If it drops, sags, or needs sustained pressure to lift, the spring, cables, or hinges are out of balance. Don’t adjust any of those yourself – call a technician. This test is diagnostic, not a DIY fix.
2. The Force-Limit Test
Re-engage the opener. Place a piece of wood or a folded towel across the door’s path near the floor. Run the door down. It should reverse on contact with the obstruction. If it keeps pushing or grinds against it, the force limit is too high. On LiftMaster and Chamberlain units most homeowners can partially address this via the opener’s adjustment, but recalibrating safely usually needs a technician – especially on smart openers.
3. The Safety-Reverse Test
With the door open, wave an object (or a broom) in front of the safety sensors at the bottom of the tracks as the door descends. It should reverse immediately. If it doesn’t, check sensor alignment (the small lights on each sensor need to be steady, not blinking) and clean any smudges off the lenses. If the reverse function still fails, stop using the opener and call – a door that won’t reverse is a genuine safety concern, especially in a household with kids or pets.
We can’t overstate the safety side here. A garage door is the largest moving object in most homes, and it’s under real tension. Doors, springs, and openers are designed so that when the balance, force, and reverse checks pass, the system is safe to use. When any one of them fails, stop the door and get it looked at.
Now vs. Monitor vs. Schedule Service
Every checklist item above fits into one of three boxes. Knowing which box to use saves a lot of anxious calls and, more importantly, catches the small issues that become expensive ones.
Do Now
- Lubricate hinges and bearing plates – every three to six months, on metal-to-metal contact points.
- Wipe tracks clean with a dry cloth or dry silicone spray; no oil.
- Replace remote batteries if you can’t remember the last time you did.
- Clean safety sensor lenses and confirm steady alignment lights.
- Run the balance, force-limit, and safety-reverse tests monthly.
- Clear the door’s path of debris, toys, and stored items – the simplest preventative step.
Monitor (and Reinspect at the Next Interval)
- Light surface rust on springs or hinges – note the location; if it spreads or pits, call.
- Slight noise increase or minor vibration – often just lubrication; if it persists, get it looked at.
- Bottom seal showing small gaps at the corners – plan to replace before winter rain begins.
- Opener that occasionally needs a second press on the remote – battery or pairing, likely; worth tracking.
- Minor rust on the door’s bottom panel – photograph it now so you can compare later.
Schedule Service
- Spring showing visible gaps, stretched coils, or a bang at the end of a cycle – a technician needs to look.
- Door drops fast or needs strong pressure to lift during balance test – spring or cable problem.
- Door won’t reverse during safety test – stop using the opener; this is a safety issue.
- Visible cracks or fraying on cables – never touch cables; they’re high-tension parts.
- Opener that repeatedly loses its travel or force settings – internal or firmware issue.
- Belt or chain on the opener visibly sagging, frayed, or noisy – parts need calibration or replacement.
Seasonal Snapshot for Richmond Households
Richmond’s weather doesn’t demand a dramatic seasonal overhaul – but it rewards a lightweight cycle. Here’s a rough calendar that matches how the local climate actually behaves.
Late Fall (Before Winter Storms)
- Bottom seal gap check with the paper test.
- Look for small water stains on the door’s bottom panel or garage floor.
- Confirm safety sensors are clean and aligned before the wetter, shorter days.
- Replace remote batteries if you’re heading into the darkest part of the year.
Spring
- Six-month spring inspection (flashlight only).
- Lubricate hinges and bearing plates.
- Clean tracks and clear any grit accumulated over winter.
- Opener firmware check on connected LiftMaster, Chamberlain, or Genie units.
Summer
- Run the balance, force, and reverse tests on a comfortable schedule.
- Inspect rollers for cracks and flat spots.
- Check any hardware for rust spots – dry warm weeks are when surface oxidation shows up clearly.
Fall
- Six-month spring inspection again.
- Lubricate hinges and bearing plates.
- Check door alignment, especially if the garage is the daily entrance and the door has been cycling repeatedly all summer.
Two inspections a year, four lubrication rounds, and a monthly test cycle is the whole program. For neighborhoods like Richmond’s older areas where doors and openers are pushing into their third decade, you may want a technician’s inspection every year or so as a backstop – not because something is wrong, but because a trained eye catches the wear that’s easy to miss when you see the door every single day.
Common Mistakes to Avoid
- Spraying white lithium on nylon rollers. The most common mistake we see, and the one that quietly destroys rollers fastest. Nylon gets checked, not greased.
- Oiling the tracks instead of wiping them. Oil turns tracks into a grit magnet; clean with a dry cloth or dry silicone spray instead.
- Skipping the bottom seal because it “looks fine.” A seal that looks fine from a standing height often fails the paper test, and winter-driving rain finds every gap.
- Adjusting the force limit without testing the reverse. Making the opener push harder is not a fix; if the door needs more force, something else is wrong. Raise the force and you’re just helping the problem hide.
- Treating a stiff or noisy door as normal. In Richmond’s damp air, “it’s always been a little noisy” often means worn springs or tired rollers that will cost more later.
- Assuming all openers need the same maintenance. Chamberain and LiftMaster smart systems need firmware checks; Genie belt-drive units need belt tension checks; screw drives need manufacturer-specific lubricant. A generic checklist is a starting point, not the whole story.
- Putting off the annual or six-month spring look because the door is still working. Springs can fail without warning, and the failure often happens when the door is mid-cycle and least convenient.
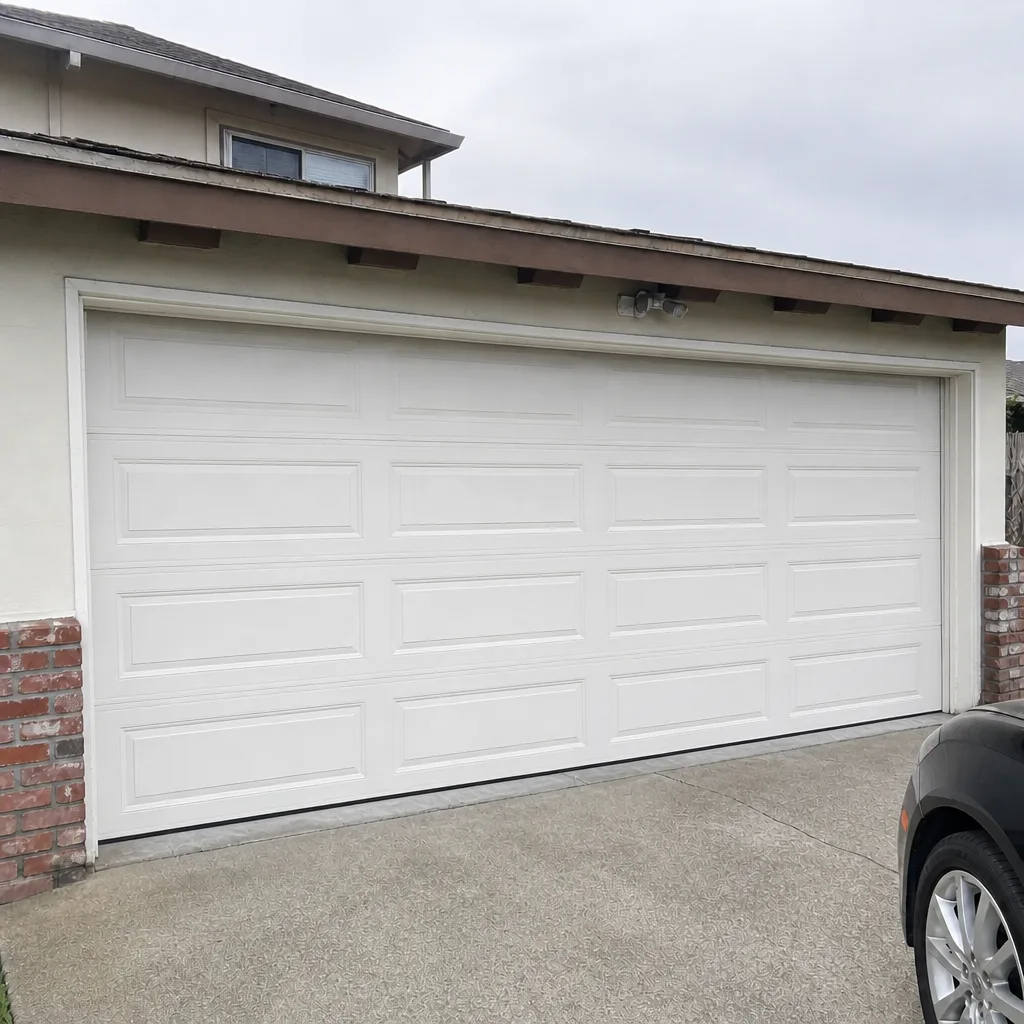
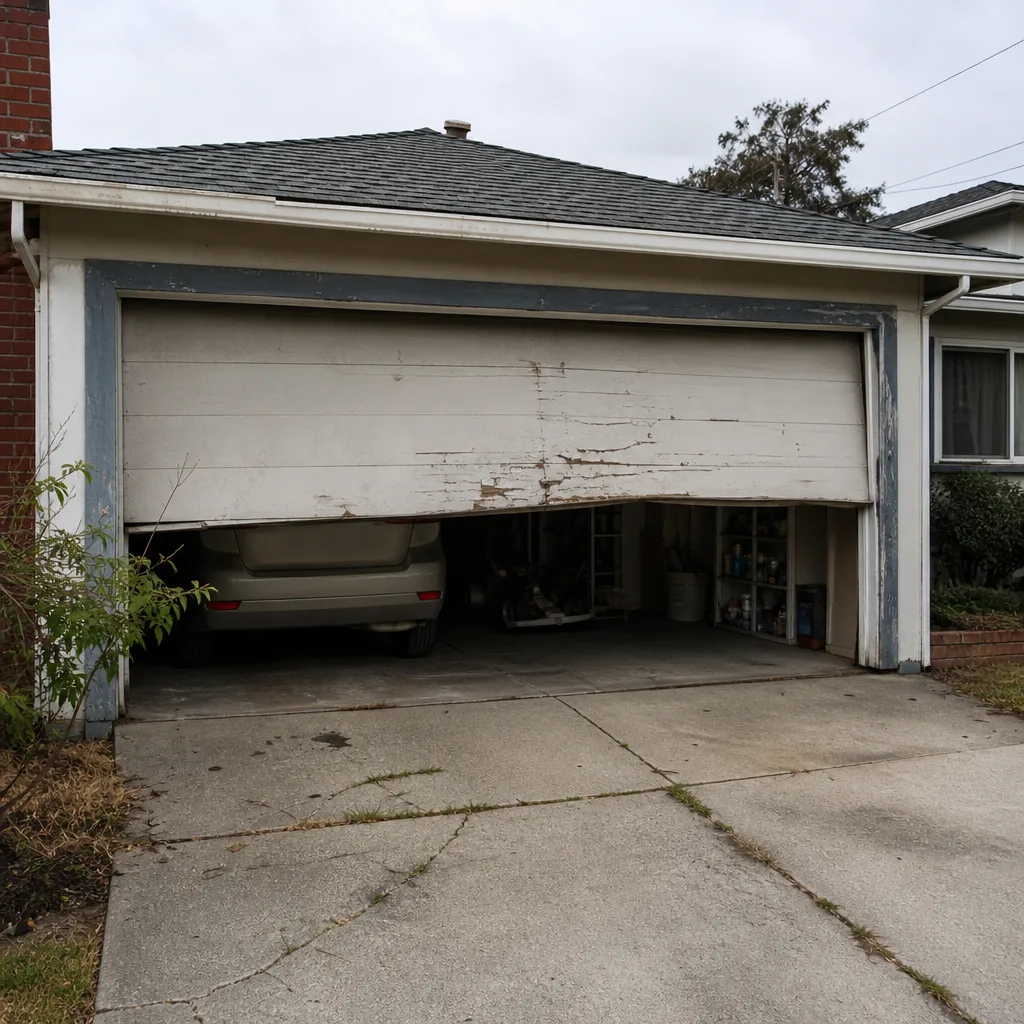
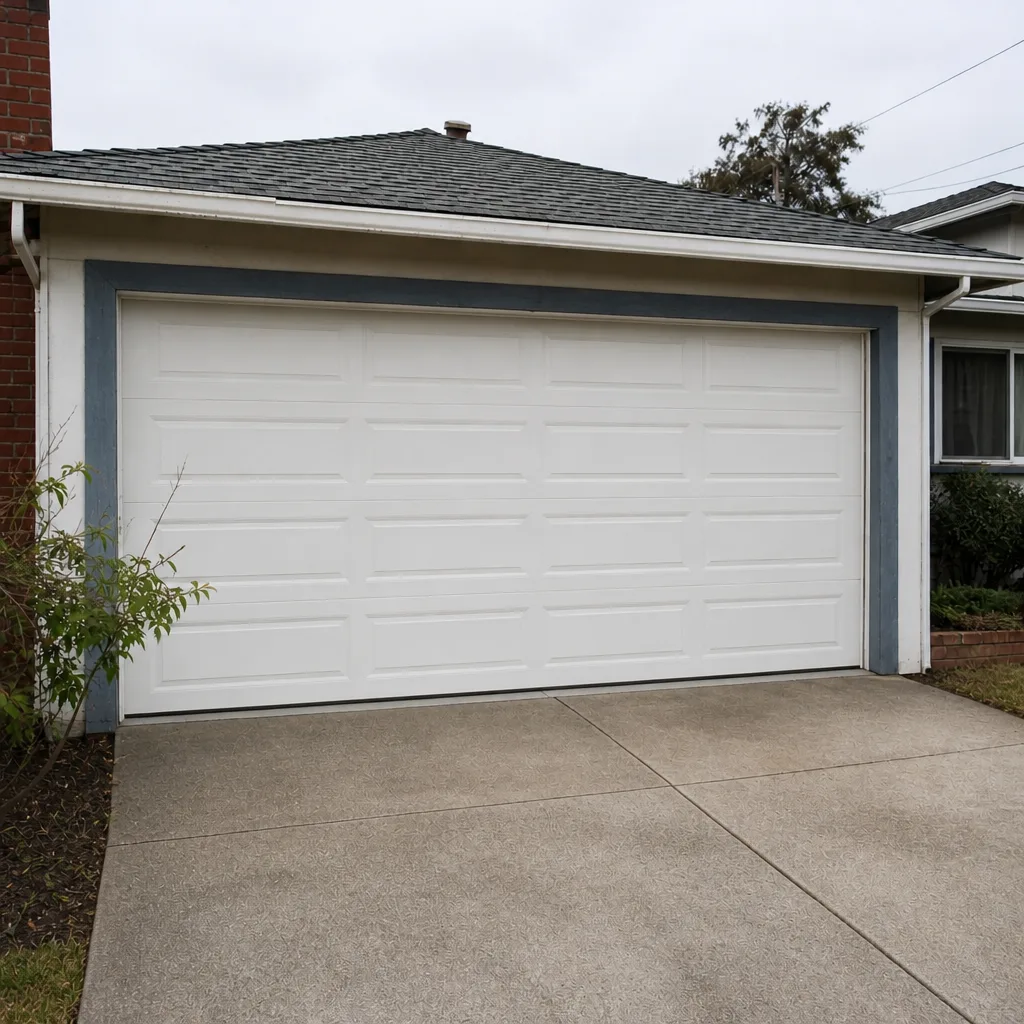
See the difference
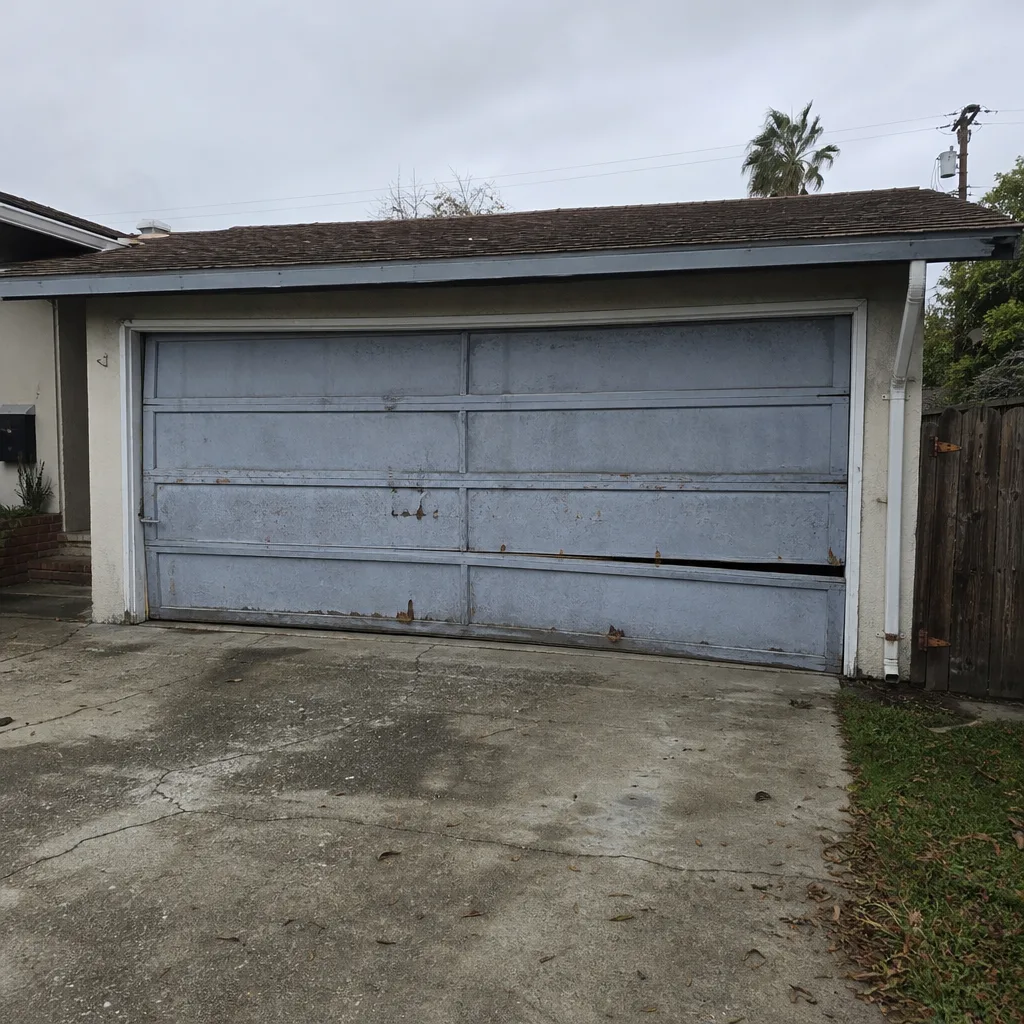 Before
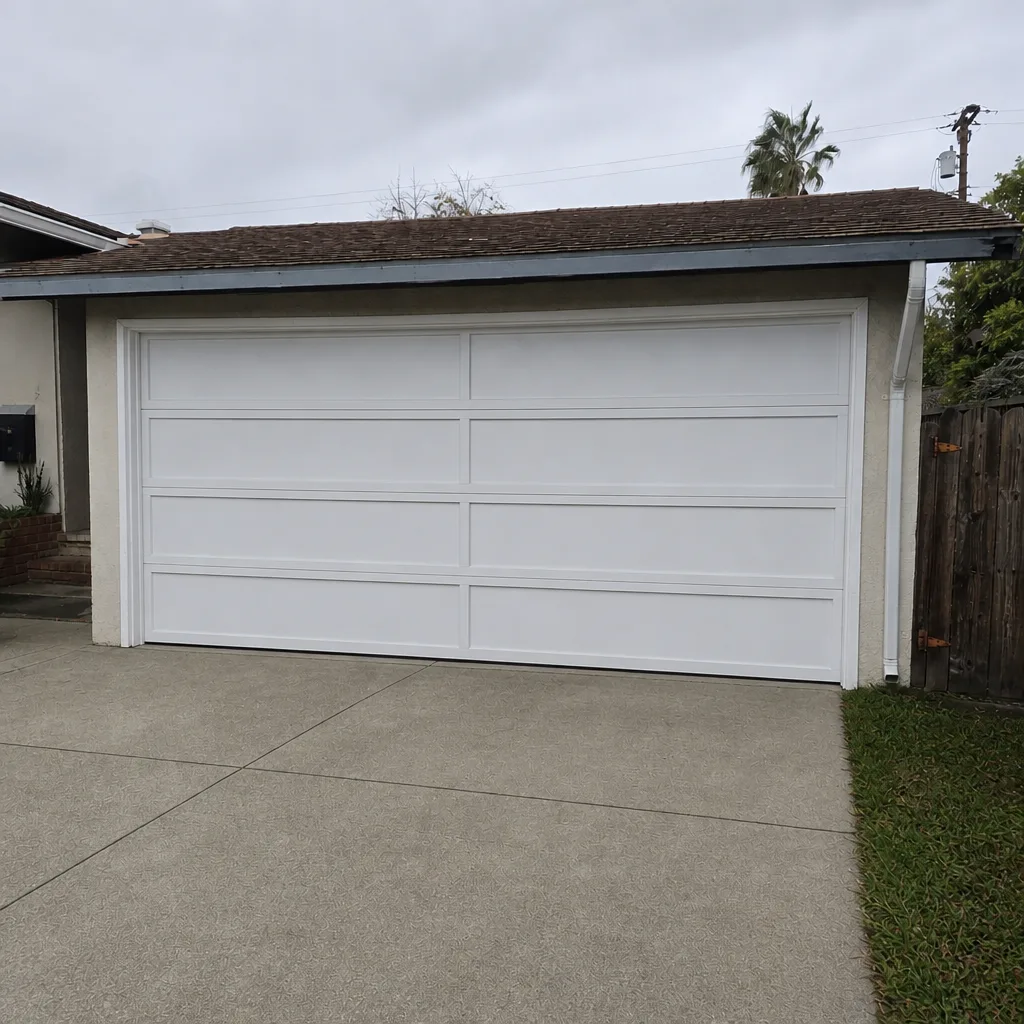 After
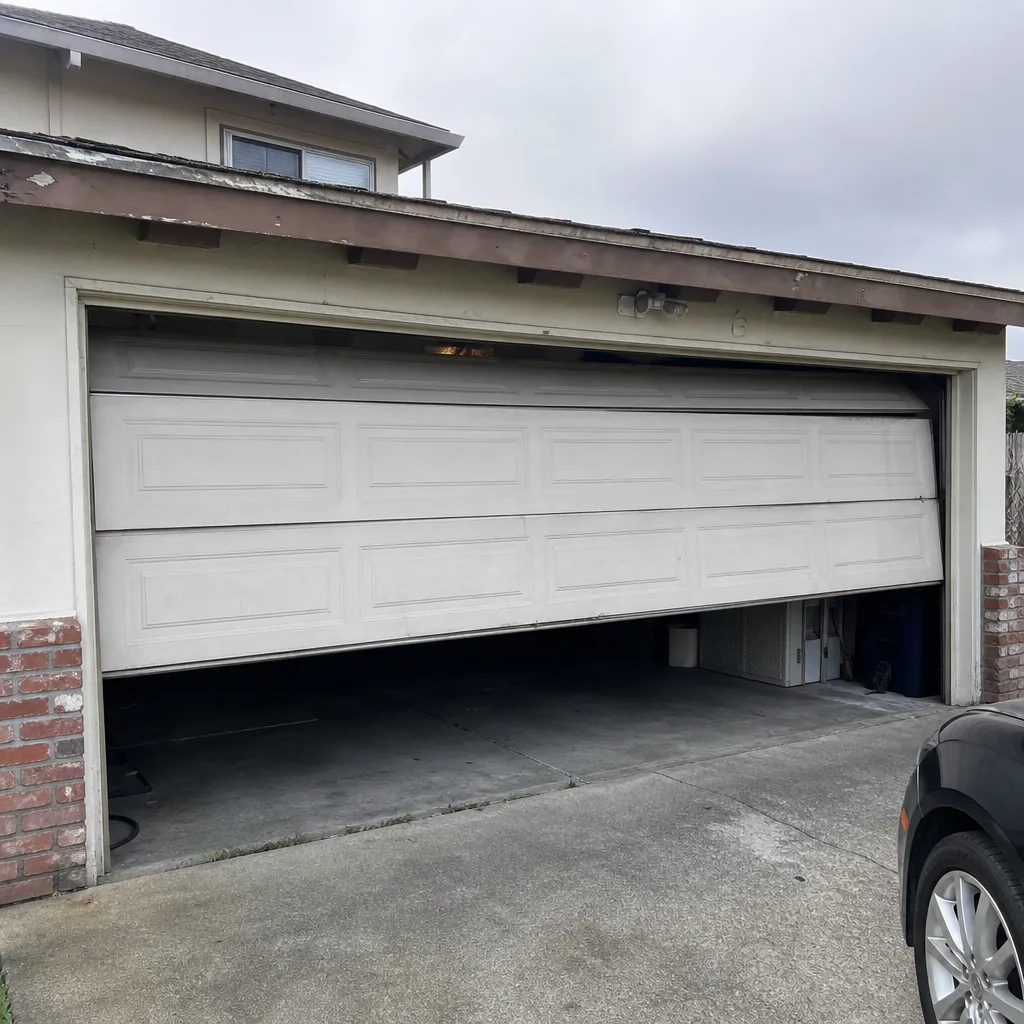 Before
 After
 Before
 After
When to Call a Professional
Some items on this checklist are homeowner territory: lubricating hinges, wiping tracks, testing the safety reverse, checking the bottom seal. The moment you’re dealing with springs, cables, the door’s balance, or an opener’s internal calibration, it’s a job for a trained technician – those parts are under high tension and a mistake can cause serious injury. Call us if the door bangs at the end of a cycle, if it drops during the balance test, if the safety reverse fails, if the opener keeps losing its settings, or if you see cracked or frayed cables. Silverline Garage Door Repair offers free estimates in Richmond – call (833) 519-3675. We answer 24/7. Fast dispatch from 7am to 7pm, Sunday through Friday. The estimate is written before any work starts, so you know the price up front.
Frequently Asked Questions
Every three to six months on hinges and bearing plates, and monthly on tracks with a dry wipe. The damp air in Richmond’s mild winters means metal parts see more condensation than you’d expect, so if your door is the daily entrance, aim for the three-month end. Spring coils get a light surface spray yearly at most – nothing more.
No. If your LiftMaster or Chamberlain door has nylon rollers – and most do – white lithium grease will collect grit and make them run rough. Use a dry silicone spray on the metal stem and leave the nylon wheel clean. This is one of the biggest reasons doors get noisy after a well-meant DIY service.
Look for coil gaps, orange-brown pitting, a visible stretch in the spring, or a sharp bang at the end of a cycle. Disconnect the opener and lift the door halfway; if it won’t hold, the spring or cable is likely at fault. Don’t try to adjust it yourself – call a technician, because torsion springs are high-tension parts and adjusting them is genuinely dangerous.
The bottom seal is usually the culprit. Wind-driven rain finds any gap where the rubber doesn’t make clean contact with the floor. Run the paper test from inside the garage after a dry spell; if paper slides under the seal at any point, replace it before the rainy season. Check the corners too – that’s where water most often sneaks in.
No. Connected LiftMaster, Chamberlain, and Genie openers receive firmware updates over Wi-Fi, and a skipped update can leave the opener unresponsive or out of sync with the app. Check the app and the status light every three months. If the opener keeps losing pairing or dropping travel settings, that’s a service call, not a firmware issue.
You can safely handle lubrication, track cleaning, bottom seal checks, and the monthly balance, force, and reverse tests. Anything involving springs, cables, opener calibration, or a door that fails any of those tests should go to a trained technician. We handle garage door repair and every related service in Richmond.
The Bottom Line
A garage door maintenance checklist that ignores brand and climate is only partly useful. In Richmond, the right version calls for a six-month spring inspection because of local humidity, a bottom seal check before winter storms, and brand-specific opener maintenance on LiftMaster, Chamberlain, and Genie systems that carry smart firmware. Use the “now, monitor, schedule service” framework to sort what’s safe to handle yourself from what needs a technician. The right fix for your door is brand-aware and matched to the system you actually own – not a one-size spray of white lithium on everything that moves. And when a spring, cable, or opener failure shows up, don’t push through it; stop the door and call. From a broken hinge to a full Silverline Garage Door Repair installation, one team covers it, with a written estimate before any work begins. Call (833) 519-3675 for a free estimate. We answer 24/7. Fast dispatch from 7am to 7pm, Sunday through Friday.
Written by the team at Silverline Garage Door Repair, serving Richmond since 2012.